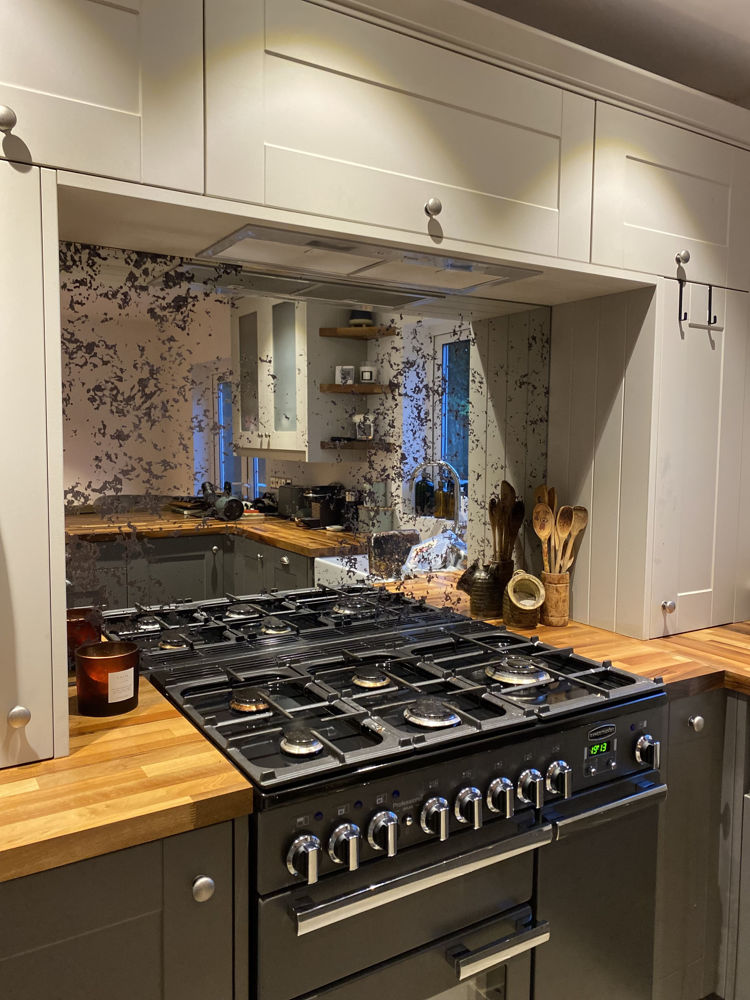
Waterproofing Behind Your Splashback: Essential Tips

When it comes to kitchen and bathroom design, a splashback does more than add visual flair — it’s a barrier that protects your walls from moisture, grease, and grime. However, one commonly overlooked detail is waterproofing behind the splashback. Without proper waterproofing, even the most beautiful glass or acrylic splashback can’t prevent long-term water damage. Here’s how to ensure your installation stands the test of time.
Why Waterproofing Matters
Water and porous surfaces don’t mix. Over time, moisture can seep behind your splashback, leading to:
Mould growth and dampness
Wall deterioration
Discoloration or peeling paint
Compromised adhesion of the splashback
Proper waterproofing creates a sealed environment, safeguarding both the wall and the splashback material — especially in areas like behind sinks, stoves, and shower enclosures.
Step 1: Choose the Right Substrate
Before applying any splashback, ensure the wall is:
Flat, clean, and dry
Free from cracks or flaking paint
Made of a moisture-resistant material, such as cement board or waterproof plasterboard
If you’re using MDF or standard plasterboard, apply a waterproof primer or membrane sealant to prevent moisture penetration.
Step 2: Apply a Waterproof Membrane
A liquid waterproofing membrane is a smart investment. Brush or roll it onto the wall behind where the splashback will sit, especially around high-moisture zones like sinks or cooktops. Allow it to dry completely before moving to the next step.
For added protection, seal corners and edges with a waterproof tape or silicone barrier.
Step 3: Use the Correct Adhesive
Not all adhesives are created equal. For glass, acrylic, or aluminium splashbacks, use neutral-cure silicone or specialist splashback adhesive that’s waterproof and heat-resistant. Avoid acidic silicones — they can damage mirrored or coated surfaces.
DIY Splashbacks offers a range of high-quality materials designed for easy, watertight installation — visit DIY Splashbacks to explore adhesive recommendations that match your chosen splashback type.
Step 4: Seal the Edges
Once your splashback is securely in place, seal all exposed edges using a clear or colour-matched waterproof silicone. This step prevents water from sneaking behind the panel.
Focus particularly on the bottom edges (where the splashback meets the countertop) and the side joints near walls or cabinetry.
Step 5: Conduct a Final Check
After sealing, allow the silicone and adhesive to cure fully (usually 24–48 hours). Test by running a small amount of water along the sealed edges to ensure no leaks occur.
A Waterproof Future
A splashback may be the star of your kitchen or bathroom design, but waterproofing is the unsung hero that keeps everything in top shape. Investing a little time in proper sealing ensures your walls remain dry, your splashback stays secure, and your home retains its polished look for years to come.
Related Reading on DIY Splashbacks
How to Fit an Acrylic Splashback at Home
