RSS

Blog posts of '2023' 'July'

Splashbacks: The Do's and Don'ts

Choosing the right splashback for your kitchen doesn't have to be difficult. It's simply a case of finding the perfect spot to install it, choosing a design that compliments your kitchen and showing it the most basic TLC from time to time, in order to maximise lifespan.

Still, a few simple yet essential pointers from the pros can go a long way in helping you get the most out of your investment.  From the initial selection phase right through to long-term care, there are some things you definitely should (and should not) be doing, for the benefit of your splashback.

Selection Phase:

Do: Consider Material Choice Carefully

There's a wide range of materials available, from glass to stone to stainless steel to laminate. Your choice should reflect not just your style, but also your culinary habits. If your surfaces are prone to being sprayed and splattered with all manner of unpleasantness, an easy-clean glass splashback really is the best of the bunch.
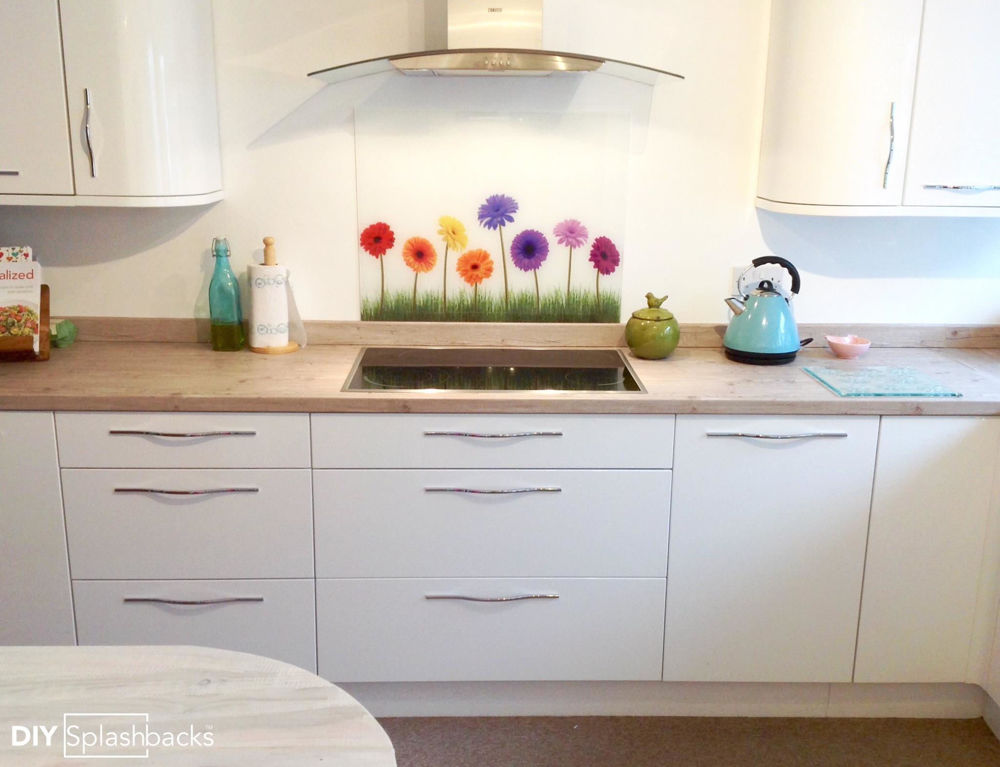
Do: Get Creative

Along with an endless range of colours and designs to choose from, there’s also the option of having your own bespoke splashback crafted from scratch.  If your goal is to bring something completely unique into your kitchen, you can always adorn your splashback with one of your own images or patterns.

Don't: Overlook Your Budget

While some splashbacks might look great on Pinterest, they can be expensive to buy and install. An ornate marble or granite panel can certainly look the part but isn't necessarily an affordable or practical option. Consider a material that's eye-catching, practical and within your budget.

Placement and Fitting:

Do: Pay Attention to Your Kitchen Layout

Where you'll place your splashback will be determined by your current kitchen layout.  Most people install their splashbacks behind the stove or sink to protect their walls from food and water splashes. However, there is always the option of running a series of splashbacks around a much larger area of your kitchen, for a cohesive look.

Don't: DIY if You're Unsure

The vast majority of kitchen splashbacks are relatively easy to install, calling for the application of the same type of adhesive you would use to fit a tile. You simply need to apply the adhesive in accordance with the manufacturer’s instructions, press it into place and give it sufficient time to dry.  Even so, if you feel unsure about the whole thing, it's worth getting it professionally fitted to ensure a secure fit.

Cleaning:

Do: Use Appropriate Cleaning Products

Splashbacks attract grease and dust – that’s basically their job!  The good news is that cleaning a glass or acrylic splashback is a walk in the park. You can use almost any standard antibacterial spray or glass cleaner, or you can fashion your own diluted vinegar solution if you prefer.  The best way to keep a splashback hygienic and looking great is to clean it little and often, rather than waiting for grease and grime to accumulate.

Don't: Use Abrasives or High-Alkaline Cleaners

Abrasive cleaning tools and high-alkaline cleaners have the potential to cause irreparable damage to the surface of your splashback. It’s far better to stick with gentler products and to avoid overly aggressive scrubbing, in order to preserve the appearance of your splashback long-term.

Long-term Care:

Do: Maintain Your Splashback

Splashback maintenance requirements are minimal, but you’ll still need to show it a little love on occasion.  For example, if you note that the silicon seal around the edge is peeling, flaking or coming away, you’ll want to repair/replace it as quickly as possible.

Don't: Ignore Damage

Irrespective of the material your splashback is made from, it’s never a good idea to ignore signs of damage or deterioration. If there are any chips, cracks or signs that your splashback could be losing its structural integrity, it’s time to get it replaced.

Why Are Splashbacks a Popular Choice?

Kitchen splashbacks have seen a major surge in popularity over recent years, as homeowners seek to spruce up their interiors without breaking the bank. The perfect pairing of practicality and presentation, splashbacks are as much about convenience and versatility as they are aesthetics.

But given the huge range of options available for those planning low-cost kitchen makeovers, what is it specifically that makes splashbacks such a popular choice? If you have a budget-friendly home improvement on your mind this summer, why does the seemingly humble kitchen splashback tick all the right boxes?

Why kitchen splashbacks?

The answer…for a few good reasons, including the following?

They Are Easy to Keep Clean and Hygienic

In no room of the home is hygiene more important than the kitchen. Completely impervious to grease, grime, bacteria and moisture, a toughened glass splashback is the very epitome of cleanliness and hygiene.

The surface of a class splashback can be cleaned with a quick wipe and sanitised to pristine perfection in an instant. There is nowhere for germs, bacteria and other nasties to hide, making it the perfect choice for all types of food preparation environments.

They Are Heat and Impact Resistant

The heat resistance of a toughened glass splashback is remarkable. Capable of withstanding temperatures as high as 300° C, they can be installed near cookers, hobs and other direct sources of heat in complete confidence.

In addition, the toughened glass used in the manufacture of splashbacks boasts around 500% of the impact resistance of standard glass. This enables it to withstand surprisingly rough treatment, which again makes it ideal for heavy-duty environments like the busy domestic kitchen. It is also scratch and chip-resistant, so you know it is going to continue looking fantastic indefinitely.

They Can Be Customised in Limitless Ways

Speaking of looking fantastic, contemporary splashbacks can be customised in almost any imaginable way. If preferred, you can go for something fairly simple – a single uniform colour for your splashback, a mirror effect, a geometric pattern and so on. But if you are looking to add a real touch of your personality to your kitchen, you can customise your splashback with your own unique design.

With a bespoke splashback manufacturer, you have the option of submitting your digital images to be printed on the glass panel. Something that opens the door to total creative freedom – a favourite family photo, a masterpiece painted by the kids, an inspirational quote – anything you like.

Their Long-Term Cost-effectiveness is Unbeatable

With just the bare minimum of everyday care and maintenance, a high-quality glass splashback can have an indefinite lifespan. In fact, it’s not uncommon for glass splashbacks to outlive the very kitchens they are installed in! You may need to refresh the adhesive after a few years or so, but that is about it.

All of this adds up to unbeatable long-term value for money – particularly when compared to less durable and hard-wearing wall coverings like ceramic tiles. Toughened glass splashbacks are cheap enough to pick up in the first place, but really are unbeatable as a cost-effecting investment in your kitchen's all-round appeal.

They’re Easy to Install

If all that wasn’t enough, the process of installing a splashback in the first place really couldn’t be easier. You won’t need any special tools or equipment to get the job done, nor are any advanced DIY skills called for.

The entire thing is as quick and easy as fitting a single large tile to the wall, calling for nothing but a tube of high-quality adhesive and a spirit level. From start to finish, the entire job takes just a few minutes. After which, you will be able to stand back and admire your handiwork for many years (if not decades) to come.