Can I Use LED Lighting Behind a Glass Splashback?
Yes — but execution is everything.
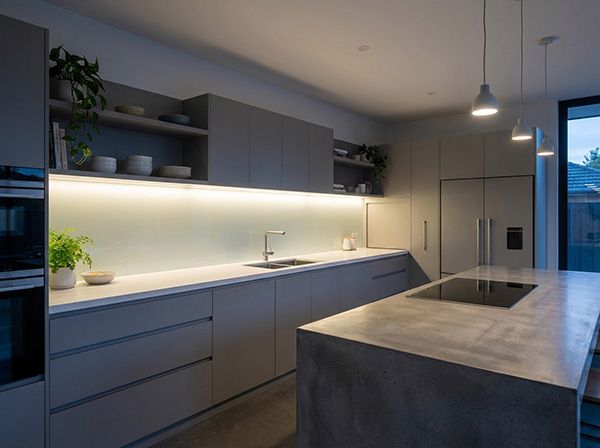
Integrating LED lighting behind a glass splashback is not just feasible; it’s a high-impact design strategy that merges aesthetics with functionality. When done correctly, it creates a premium, modern finish that elevates both kitchens and bathrooms.
Why LED Lighting Behind Glass Splashbacks Works
Glass splashbacks are inherently reflective and light-enhancing. When paired with LED lighting, they transform into a feature element rather than a passive surface.
Key advantages:
- Ambient enhancement: Soft, diffused lighting creates a warm and inviting environment
- Visual depth: Adds dimension to otherwise flat wall spaces
- Energy efficiency: LEDs consume less power and have longer lifespans
- Customizable color: Adjust tone and intensity to suit mood or branding
How It’s Typically Installed
The process is straightforward but requires precision and planning.
- Wall preparation: Surface must be smooth and clean
- LED placement: Light strips are mounted directly onto the wall
- Diffusion layer (optional): Helps evenly spread light
- Glass installation: Toughened glass is installed over the LEDs
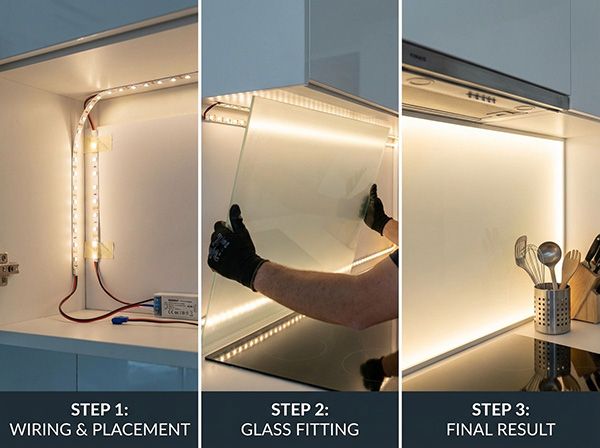
Important: Always use low-heat LED strips to prevent thermal stress on the glass.
Where This Works Best
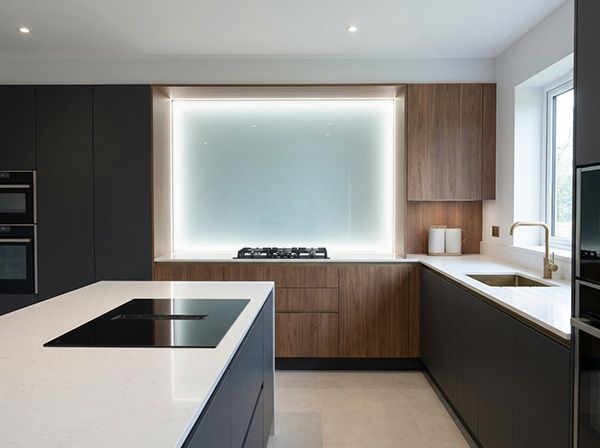
LED-backlit splashbacks are most effective in spaces where visual impact matters.
- Kitchens: Under cabinets or across full walls
- Bathrooms: Behind vanities or mirrors
- Commercial spaces: Bars, salons, and reception areas
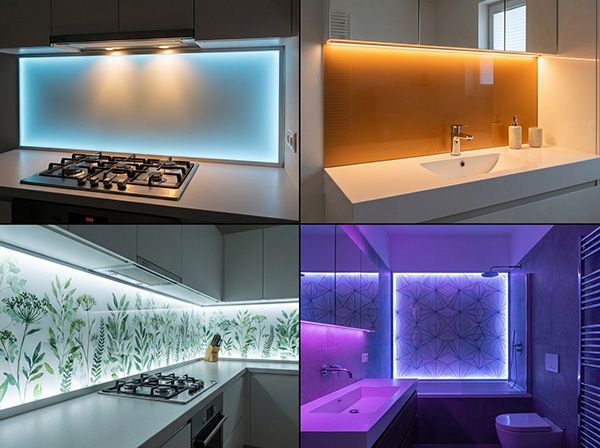
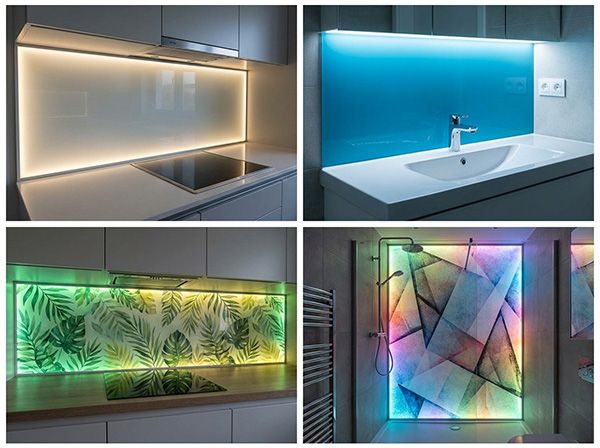
Choosing the Right Glass
Not all glass performs equally in this setup.
- Low-iron glass: Offers clearer, brighter illumination
- Frosted or etched glass: Provides a soft, diffused glow
- Printed glass: Can create dramatic backlit imagery
Key Considerations Before You Start
This is where most projects succeed or fail.
1. Heat Management
Even though LEDs run cool, poor ventilation can cause heat buildup. Ensure proper spacing and airflow.
2. Electrical Planning
Conceal wiring effectively. Plan access points for maintenance — don’t seal everything permanently.
3. Light Diffusion
Without diffusion, you may see individual LED dots. Frosted glass or diffuser panels solve this.
4. Professional Installation
While DIY is possible, electrical integration and glass fitting demand technical accuracy.
Cost vs Value
LED-backlit splashbacks sit in the premium tier. However, the return on investment is strong in terms of:
- Property value perception
- Visual differentiation
- Long-term durability
Strategic Insight
From a design perspective, this approach aligns with modern trends where surfaces are no longer static. Instead, they become interactive and dynamic components of the space.
At the same time, it respects traditional principles — durability, ease of cleaning, and long-term reliability — which are core to why splashbacks have always been a staple in kitchens and bathrooms.
Final Verdict
Yes, you can use LED lighting behind a glass splashback — and when executed properly, it becomes a standout feature that blends innovation with practicality.
If you're aiming to create a space that feels both contemporary and timeless, this is a calculated upgrade worth considering.