Sharpen Scissors Using Aluminum Foil: A Fast DIY for Smoother Cuts
When household tools start underperforming, productivity takes a hit. Scissors, in particular, tend to lose sharpness over time—especially when used across mixed materials. Instead of replacing them or investing in specialized sharpeners, you can deploy a simple, time-tested method using aluminum foil. It’s efficient, cost-neutral, and grounded in old-school home maintenance logic.
Why This DIY Works
Aluminum foil delivers light, controlled abrasion. Each cut polishes and realigns the blades, restoring cutting power with minimal effort. It’s a reliable, traditional technique that consistently extends tool lifespan.
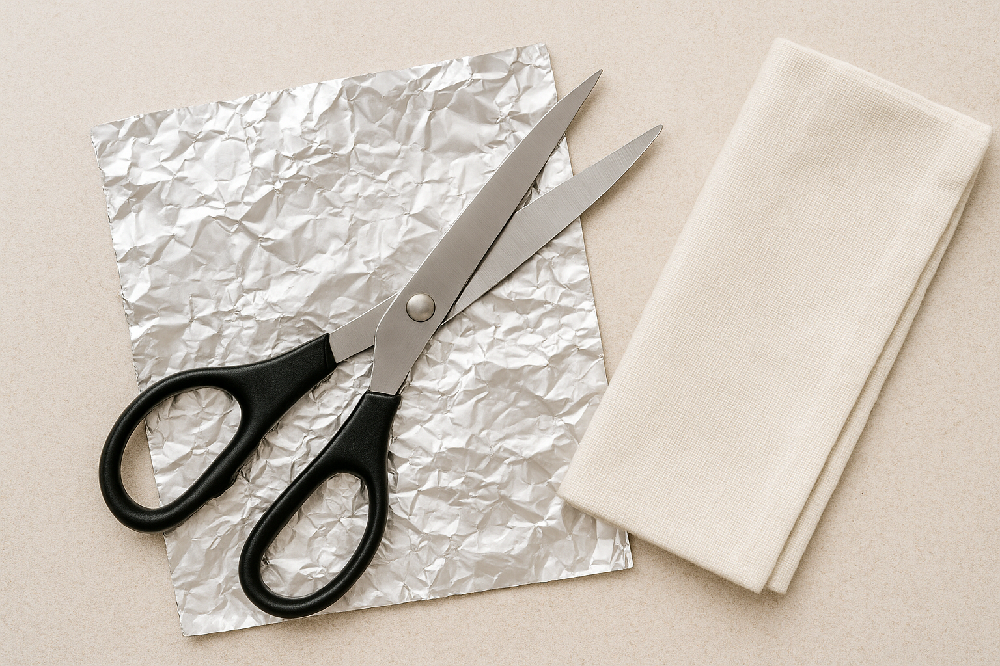
What You’ll Need
A sheet of aluminum foil
Dull scissors
Clean cloth
Step-by-Step Framework
1. Prep the Foil
Tear off a piece of foil about the length of your forearm. Fold it several times until you have a thick, layered strip. The layering boosts the sharpening effect.
2. Start Cutting
Make around 10–15 straight cuts through the foil. Ensure the blades travel the full length of the strip—this distributes the abrasion evenly along both edges.
3. Test the Blades
Grab a piece of paper or fabric and test the sharpness. If the cut feels smoother but not fully restored, simply run a few more passes through the foil.
4. Wipe Down the Scissors
Use a clean cloth to remove any tiny foil particles. This leaves the blades clean, polished, and ready for precision use.
Final Insight
This DIY embodies operational simplicity—reviving an everyday tool with a fast, zero-waste workflow. It’s perfect for readers who value practicality and steady, traditional solutions over buying new equipment.