How to Measure a Splashback Area Yourself
When it comes to installing a new splashback, precision is the difference between a perfect fit and an expensive mistake. Whether you’re planning a glass, acrylic, or mirror splashback, accurate measurements form the foundation of your entire project. The good news? Measuring your splashback area yourself is straightforward when you follow the right steps.
In this guide, we’ll walk you through how to measure like a pro — ensuring your splashback fits seamlessly and looks stunning once installed.
Why Measuring Accurately Matters
Before diving into the process, it’s worth understanding why measurement is so critical. Splashbacks are typically custom-cut to fit your unique wall space. Even a few millimetres off can result in alignment issues, visible gaps, or wasted material. Getting it right the first time saves you time, cost, and frustration.
If you’d like a detailed visual reference, explore the DIY Splashbacks measurement guide — a professional resource designed to help you take precise, reliable measurements every time.
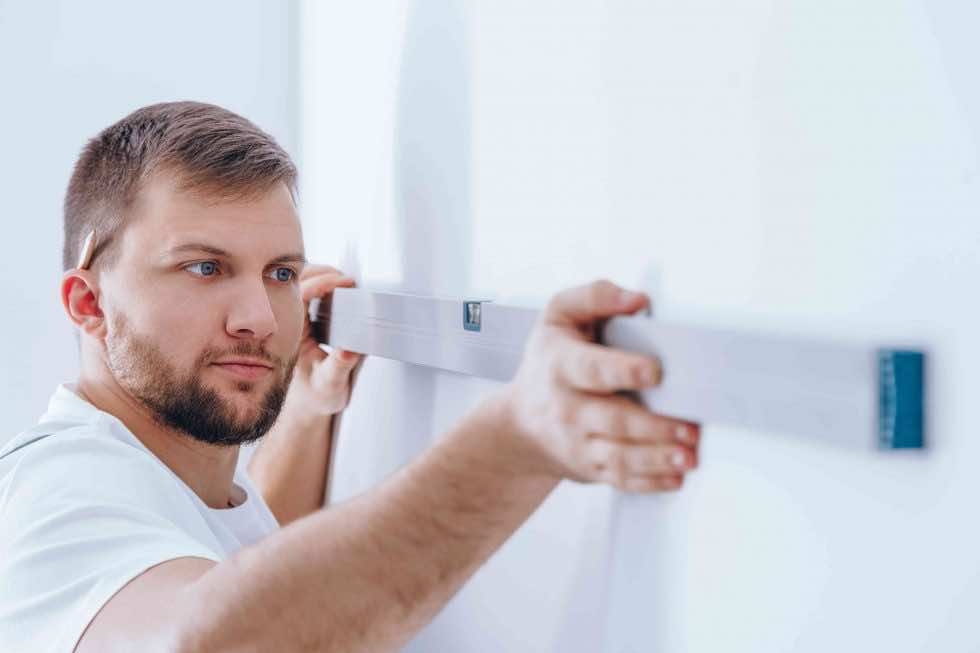
Step 1: Gather Your Tools
To start, you’ll need:
• A steel tape measure (for accurate readings)
• A notepad and pencil to record each dimension
• A spirit level to confirm straight lines
• Optional: a helper, if you’re working on large wall sections
A clean, organised workspace ensures no errors or missed sections as you measure.
Step 2: Measure the Width
Measure the width of the wall area where your splashback will sit — usually from one edge of the countertop to the other. Take measurements at the top and bottom of the wall, as walls are rarely perfectly straight. If the measurements differ slightly, use the smaller dimension to ensure your splashback fits comfortably within the space.
For installations involving multiple wall sections or corner returns, measure each area separately and label them clearly.
Step 3: Measure the Height
Next, measure the height from the top of the worktop to the bottom of the wall cabinet or the desired height limit. Again, check at multiple points along the wall to identify any inconsistencies.
If your splashback runs behind a hob or sink, it’s a good idea to note any potential height variations caused by fixtures or cutouts.
Step 4: Account for Cutouts and Sockets
Sockets, switches, and wall-mounted fittings require precise cutouts in the splashback panel. Measure the distance from the edge of the wall to the centre of each fitting — both horizontally and vertically.
Record these measurements carefully and double-check them. When submitting to your supplier, specify whether these are centre measurements or edge-to-edge measurements for clarity.
Step 5: Double-Check Your Measurements
Accuracy is everything. Once you’ve taken your initial measurements, repeat the process to confirm. Small discrepancies can occur, especially if working alone. Always measure twice — and record the final dimensions clearly.
If you’re unsure, consider making a paper or cardboard template of the area. This helps visualise where your splashback will sit and ensures there are no surprises during installation.
Step 6: Submit Measurements Correctly
When you’re confident in your numbers, it’s time to order. Most suppliers — including DIY Splashbacks — will require measurements in millimetres for accuracy. Be sure to label each section if you’re ordering multiple panels, such as “left wall,” “hob area,” or “sink section.”
Include all socket and window details clearly in your submission to ensure your splashback arrives cut to exact specifications.
Pro Tip: Leave Expansion Space
For glass and acrylic splashbacks, it’s smart to leave a 2–3mm gap around the edges to allow for thermal expansion. This small detail prevents warping and ensures your splashback remains perfectly flush for years to come.
Final Thoughts
Measuring your splashback area yourself is a simple yet vital step in achieving a flawless finish. By following these steps — and leveraging the expert resources available on DIY Splashbacks — you’ll save on installation costs and ensure a professional outcome that elevates your kitchen or bathroom space.
Precision and preparation are key. Take your time, measure twice, and enjoy the satisfaction of seeing your project fit perfectly — the first time.