Beyond the Kitchen: Creative Ways to Use Splashbacks in Unexpected Spaces
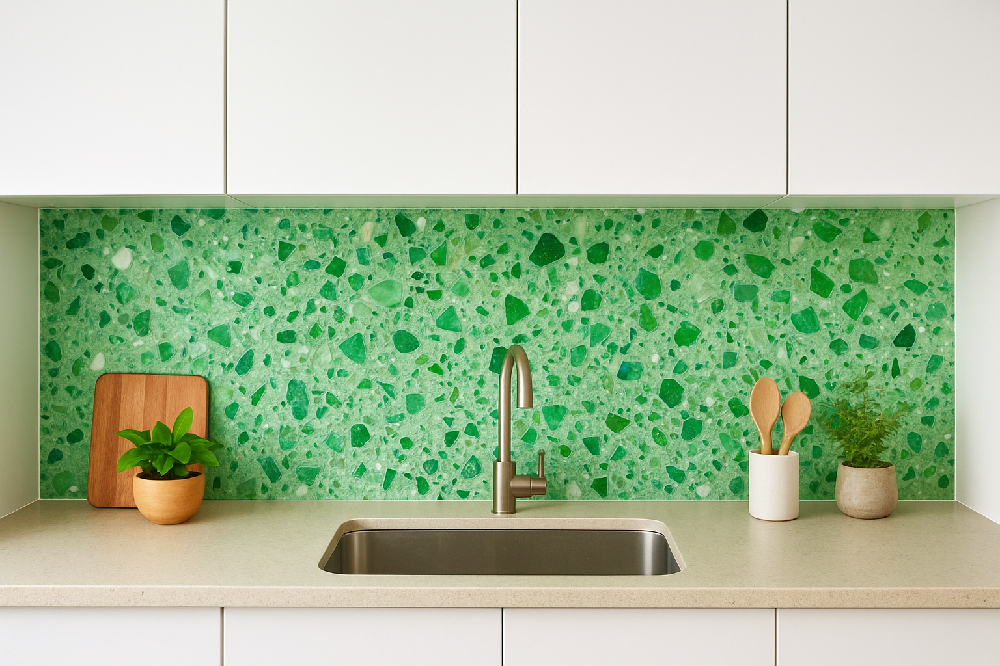
Splashbacks have long been the silent heroes of kitchens—protecting walls, adding shine, and tying a design together. But in modern interior design, their role is expanding beyond the traditional kitchen setup. With the right materials, colors, and finishes, splashbacks can redefine spaces you’d never expect. From home offices to hallways, their versatility proves they’re not just practical—they’re a design statement.
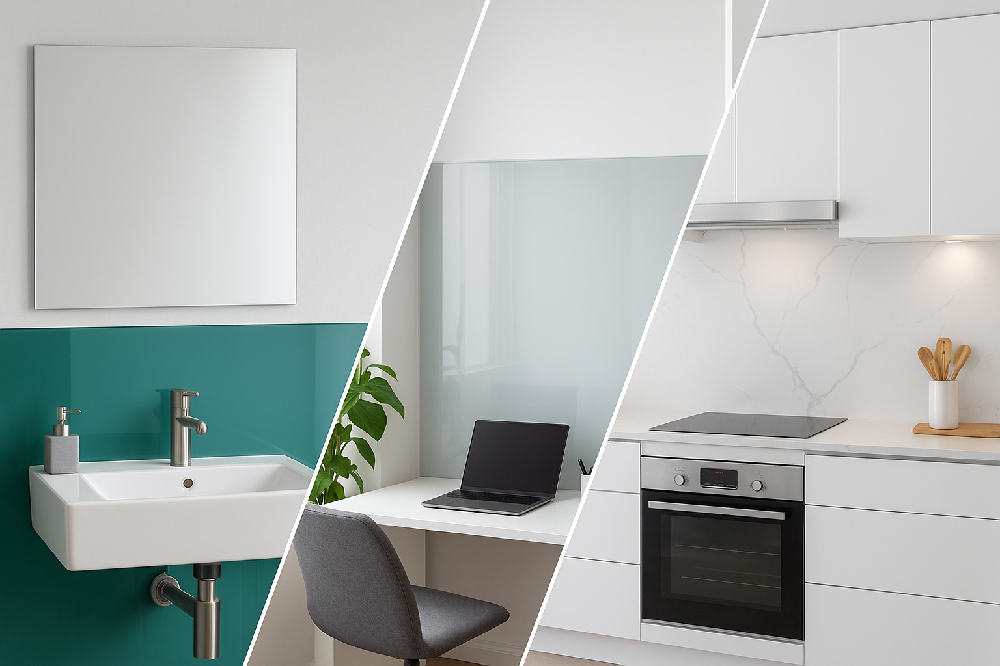
1. Bathroom Brilliance
Bathrooms are natural candidates for splashback innovation. Instead of standard tiles, glass or acrylic splashbacks bring seamless elegance and water resistance.
Behind sinks and vanities: They protect walls while adding a touch of luxury.
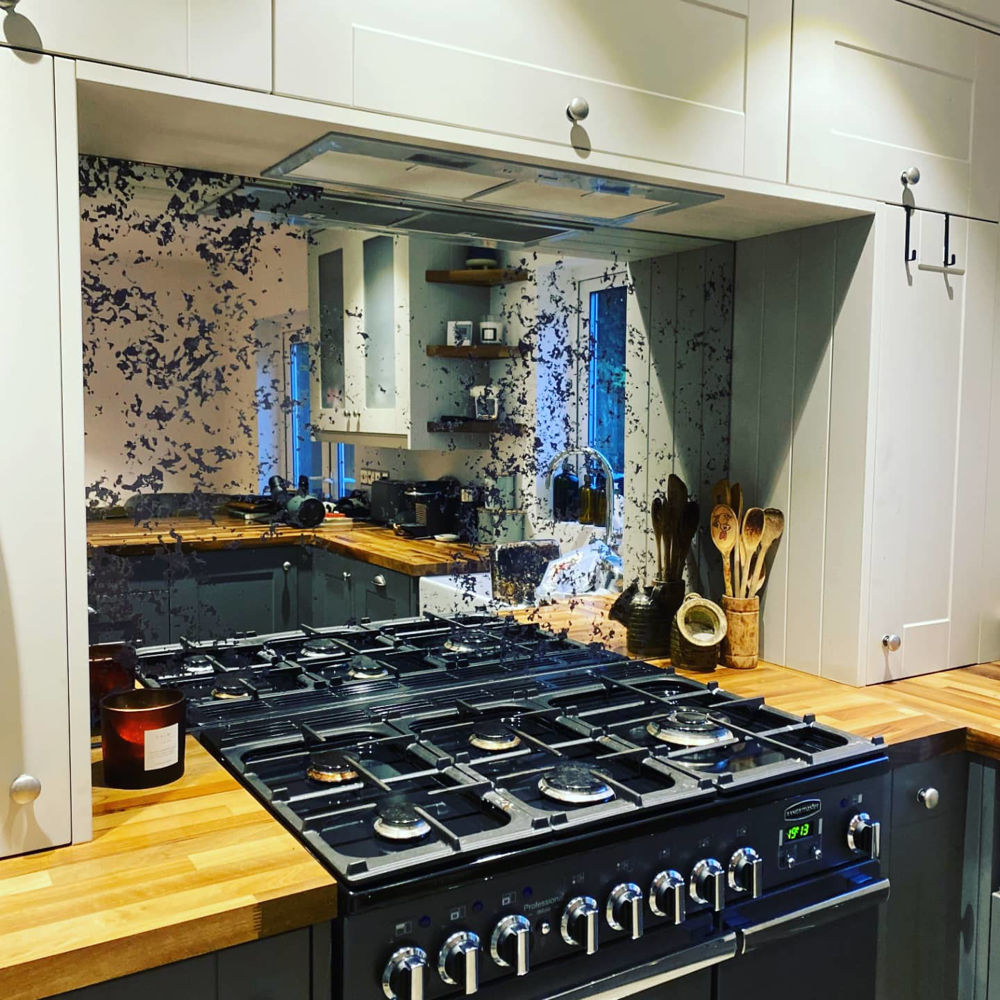
Feature walls: Use mirrored or printed designs to create visual depth in small bathrooms.
2. Home Office Sophistication
Remote workspaces deserve as much visual care as any living area. A splashback behind your desk isn’t just functional—it’s motivational.
Magnetic or writable glass splashbacks can double as a dry-erase board for planning and creativity.
Choose muted tones or reflective finishes to brighten the workspace and enhance focus.
This is where function meets productivity—a subtle upgrade that inspires performance and professionalism.
3. Entryways and Hallways with Impact
First impressions matter. Installing a slim, glossy splashback panel in your entryway can instantly modernize the space.
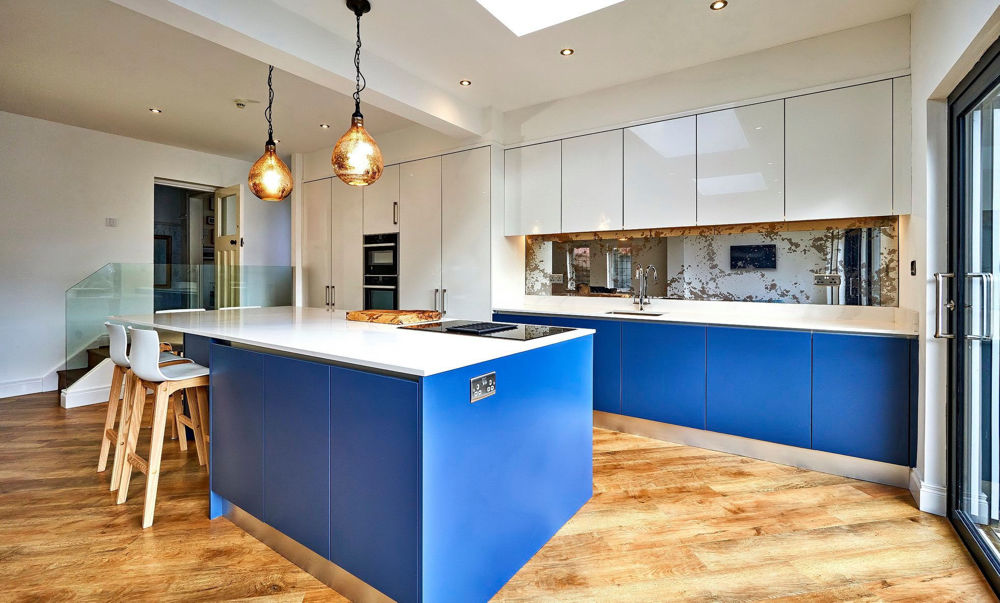
Use metallic or tinted glass to create depth and reflection.
Combine with ambient lighting for a sleek, gallery-like effect.
A small design gesture can make your home’s first point of contact both practical and memorable.
4. Laundry and Utility Areas
These high-use areas benefit from surfaces that handle moisture, detergents, and splashes without losing their appeal.
Acrylic splashbacks are perfect here—they’re durable, affordable, and easy to clean.
Add a pop of color to energize what’s often a neglected corner of the home.
DIY Splashbacks provides custom-cut panels that fit awkward or compact areas perfectly, saving time during installation.
5. Commercial and Retail Environments
Beyond residential design, splashbacks make powerful statements in offices, restaurants, and retail spaces.
A backlit glass splashback behind a bar or reception counter adds sophistication.
Printed branding or subtle gradients can reinforce company identity.
This is visual storytelling through material—communicating quality, precision, and confidence at a glance.
Final Remarks
The true potential of splashbacks extends well beyond the kitchen. With modern materials and customizable options from DIY Splashbacks, you can elevate any space—functional or decorative—into something extraordinary.
Splashbacks aren’t just a design feature anymore; they’re a creative medium. Whether it’s a personal workspace, a luxury bathroom, or a commercial hub, the right splashback brings form, function, and flair into perfect alignment.

_1000.png)
_1000.png)

_1000.png)
_1000.png)