How Do I Hide the Edges If My Wall Isn’t Perfectly Straight?
In a perfect installation environment, every wall would be square, level, and perfectly aligned. In reality, especially in older properties, walls often bow, taper, or deviate slightly from a straight line. When installing a splashback, these irregularities can create visible edge gaps that compromise the final finish.
The practical question many homeowners ask is simple: how can the edges of a splashback be hidden when the wall isn’t perfectly straight?
The answer lies in a combination of traditional finishing methods and modern installation techniques. When executed correctly, the result remains clean, professional, and visually seamless.
Why Wall Irregularities Affect Splashback Edges
Walls rarely maintain absolute straightness. Plaster variations, uneven tiling surfaces, and structural settling can create slight deviations along the length of a wall.
When a glass or acrylic splashback is installed against such a surface, small gaps may appear between the edge of the splashback and the wall. While these gaps are usually minimal, they become noticeable if left untreated.
The objective is not to force the splashback into the wall alignment but to strategically conceal the irregularity.
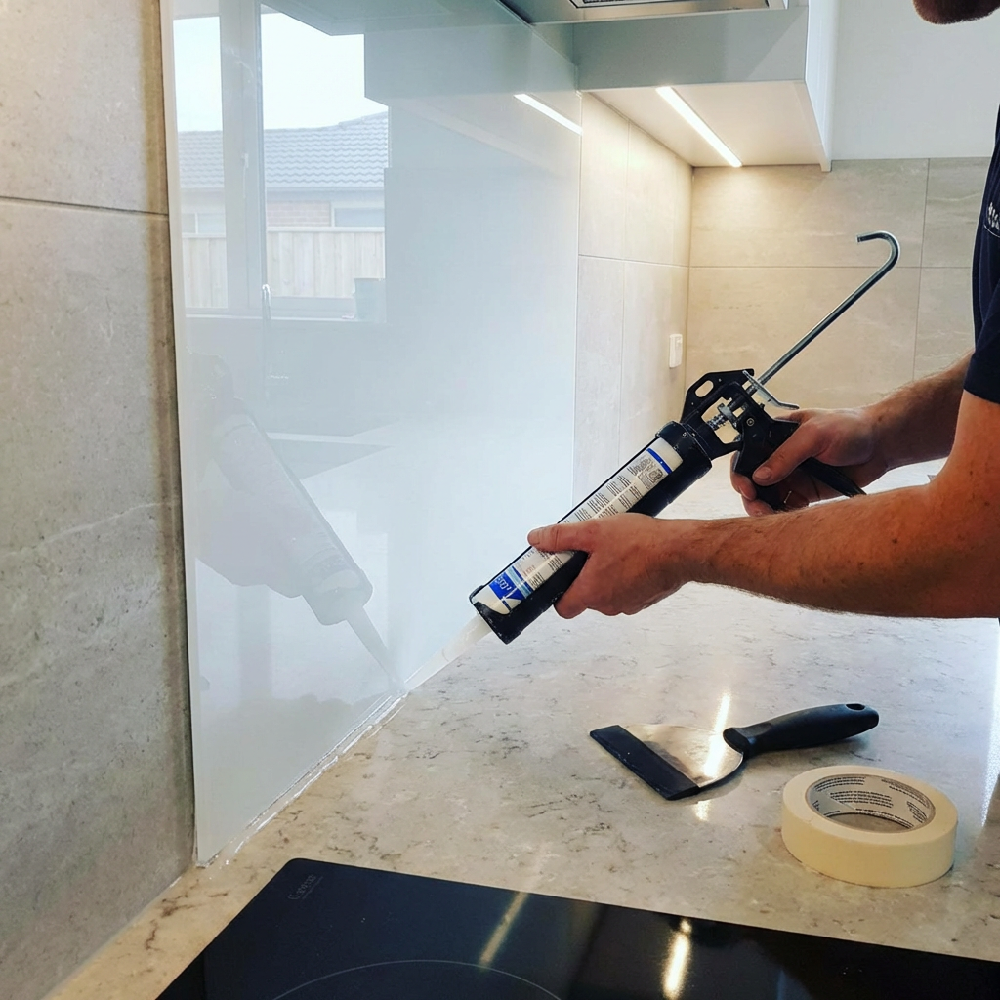
Method 1: Use Color-Matched Silicone Sealant
The most widely adopted solution is color-matched silicone sealant.
Silicone acts as both a flexible filler and a visual transition between the splashback and the wall. Because it remains flexible, it accommodates slight wall movement and uneven surfaces without cracking.
Key advantages include:
Seamless visual blending
Water resistance (critical for kitchens and bathrooms)
Flexibility for uneven surfaces
Professional installers typically apply a thin, controlled bead along the edge, smoothing it carefully to create a clean transition line.
Method 2: Scribing the Splashback to the Wall
In high-end installations, professionals may scribe the splashback to the wall. This process involves carefully measuring and cutting the splashback so its edge follows the contour of the wall.
While this produces an extremely precise fit, it is typically done only with materials that can be custom-cut before installation.
This technique is common when ordering custom-made glass splashbacks, where measurements are taken after the kitchen or workspace is fully fitted.
A good example of custom-fit splashback solutions can be explored through DIY Splashbacks, where precision manufacturing allows panels to be produced to exact wall dimensions.
Method 3: Using Upstands or Side Panels
Another effective approach is installing matching upstands or side panels alongside the splashback. These components create a layered design that naturally hides any irregular edges.
The advantage here is strategic design integration rather than correction. The visual focus shifts to the architectural framing rather than the wall alignment.
The Professional Installation Principle
Experienced installers follow a simple rule: never rely on the wall to be perfect.
Instead, the installation strategy incorporates flexible finishing elements such as sealants, trims, or custom measurements. This approach ensures the splashback delivers a clean visual result regardless of minor structural imperfections.
Final Thoughts
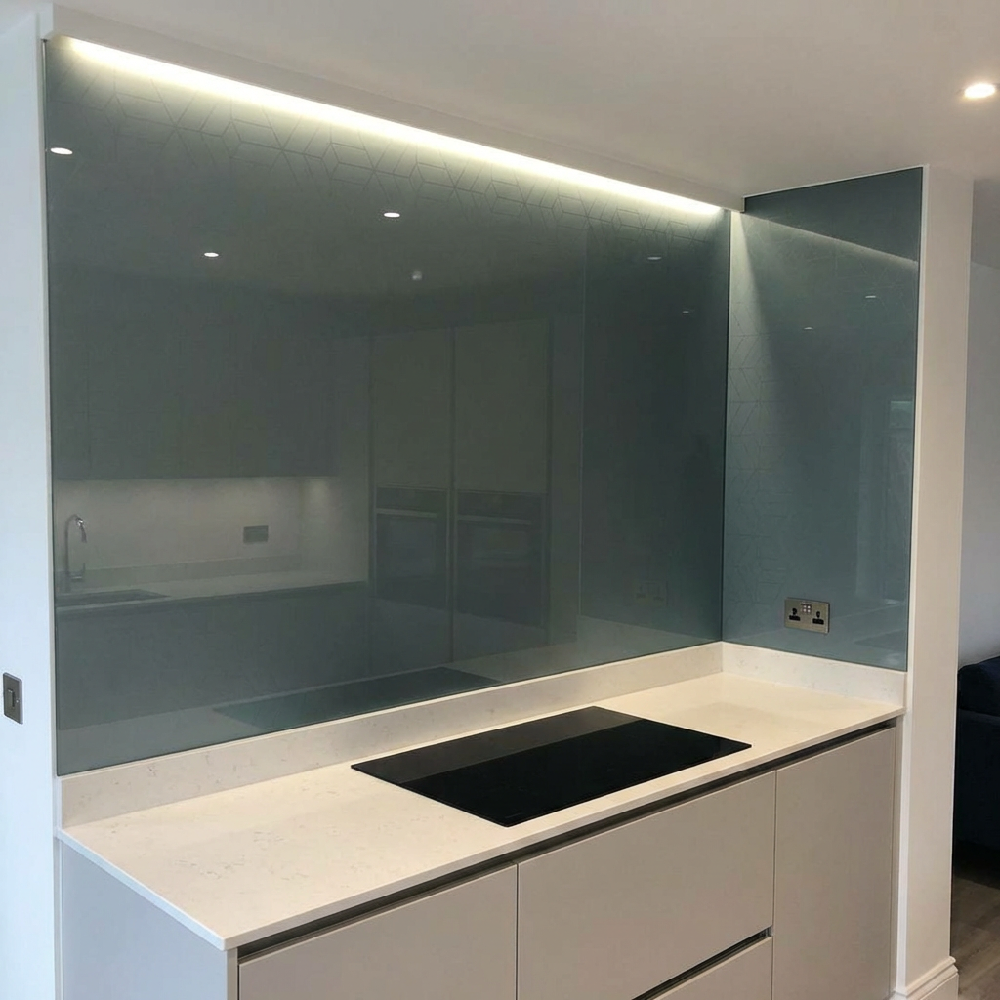
A wall that isn’t perfectly straight does not prevent a splashback from looking professionally installed. With the right finishing techniques—such as silicone sealing, edge trims, or custom scribing—the edges can be effectively concealed.
The key takeaway is straightforward: a well-planned installation strategy always compensates for imperfect surfaces.
When precision manufacturing and proper finishing methods are combined, splashbacks maintain their defining qualities—clean lines, durability, and a polished aesthetic.