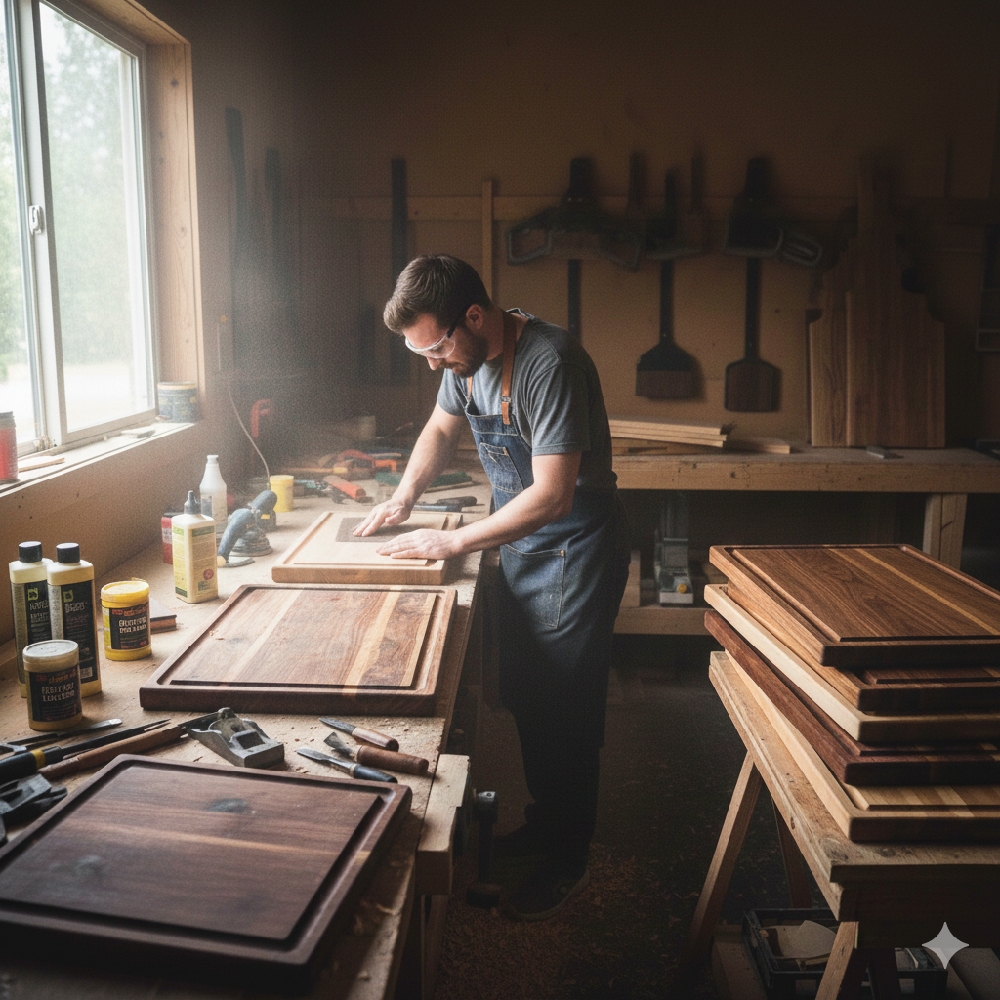
Operational DIY Deep Dive: Enterprise-Grade Restoration for Wood Cutting Boards
Executive Intent
Preserve a core kitchen asset using heritage techniques that predate mass-market chemicals yet continue to outperform them. This initiative focuses on durability, hygiene, and long-term value creation.
Strategic Rationale
Wood cutting boards have been a staple in kitchens for generations because they balance strength, knife-friendliness, and natural antimicrobial properties. However, neglect erodes performance—odors linger, stains embed, and micro-cracks form. The legacy solution is not replacement; it’s restoration. This DIY aligns traditional household wisdom with a modern efficiency mindset.
Materials Portfolio
• Warm water and mild dish soap
• Coarse salt (rock or sea salt preferred)
• Fresh lemon
• Clean, dry cloth or paper towels
• Food-grade mineral oil or board conditioner
All items are readily available, cost-controlled, and proven through decades of use.
Step-by-Step Execution Framework
1. Initial Surface Reset
Wash the board with warm water and a small amount of mild soap. This removes surface-level grease and debris without stripping the wood’s natural fibers. Rinse thoroughly and allow the board to air-dry completely. Moisture discipline at this stage prevents warping later.
2. Deep Residue Extraction
Once dry, apply a generous layer of coarse salt across the entire surface. Salt acts as a mechanical exfoliant, reaching into knife grooves where residue accumulates over time. This is a precision clean, not a cosmetic one.
3. Natural Disinfection Protocol
Cut a lemon in half and scrub it firmly over the salted board. The citric acid works in tandem with the salt to neutralize odors and reduce bacterial presence. This method has been used in domestic kitchens long before commercial disinfectants existed—and it remains effective.
4. Controlled Rinse and Dry
Rinse the board quickly under warm water to remove salt and lemon residue. Avoid soaking. Pat dry with a clean cloth and let the board air-dry fully in an upright position to ensure even airflow.
5. Structural Rehydration
Apply food-grade mineral oil generously to the surface, using a cloth to work it into the grain. This step restores moisture balance, prevents cracking, and reinforces the board’s natural resistance to stains. Allow the oil to absorb for several hours or overnight.
6. Final Buff and Readiness Check
Wipe off any excess oil and lightly buff the surface. The board should feel smooth, rich in color, and stable—ready for daily operational use.
Maintenance Strategy
• Light cleaning after each use
• Full restoration cycle once a month
• Immediate oiling if the board looks dry or faded
This cadence maximizes longevity and minimizes replacement costs.
Closing Perspective
This DIY is a textbook example of respecting tradition while operating with modern discipline. It delivers sustainable results, protects a critical kitchen tool, and reinforces the principle that well-maintained basics outperform constant upgrades. Classic methods. Strategic execution. Enduring value.