Can Splashbacks Be Replaced Easily?
Understanding the Installation Framework
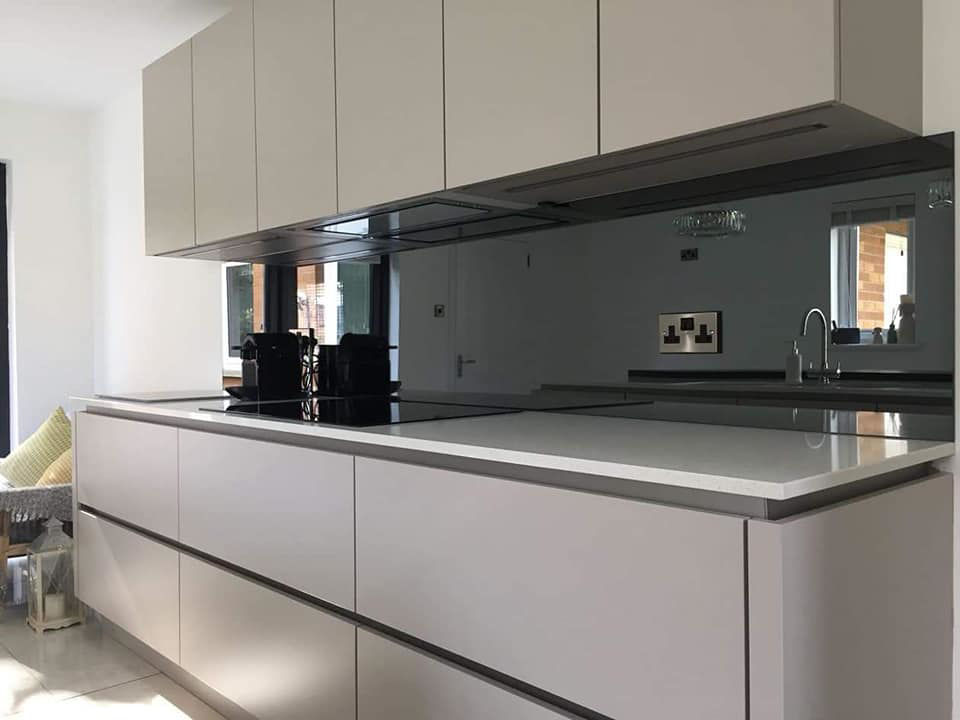
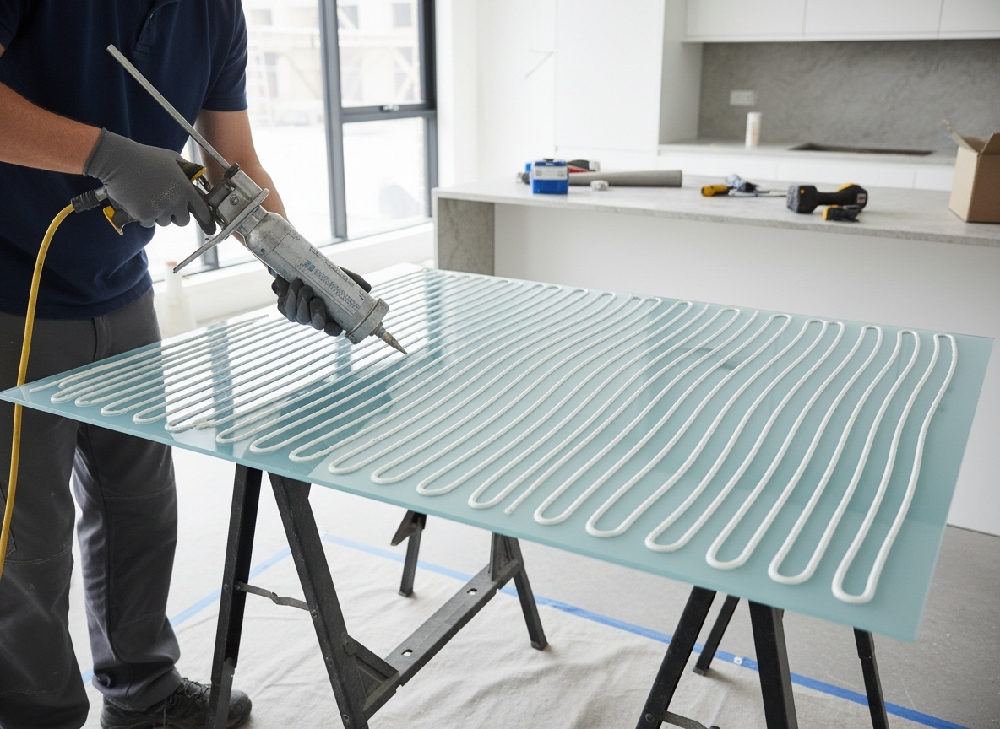
Splashbacks are surface-mounted features rather than structural components. This distinction is critical. Because they are fixed using adhesive and perimeter silicone rather than embedded into walls, they can be removed without dismantling cabinets or worktops.
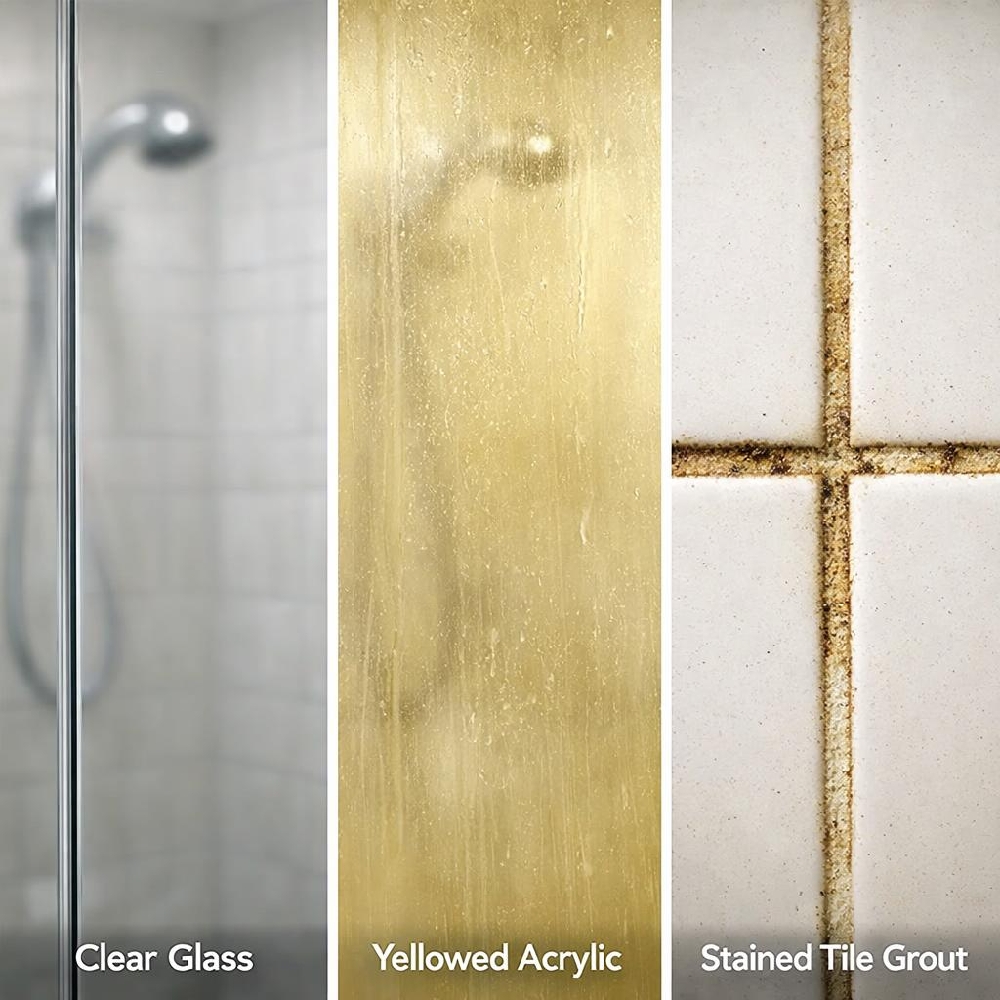
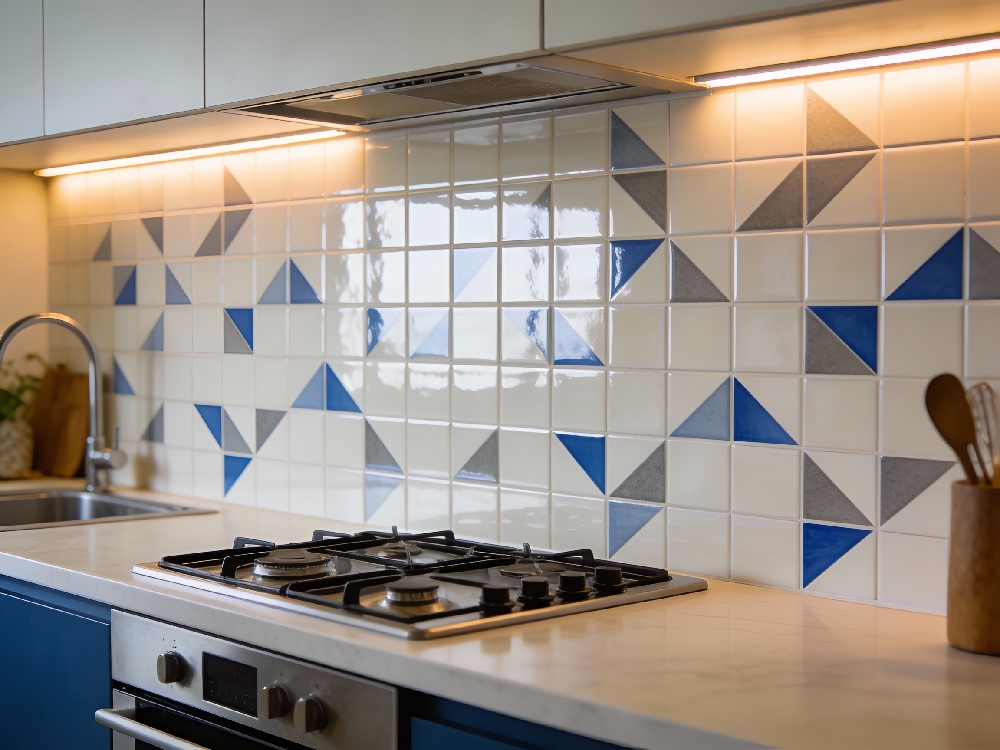
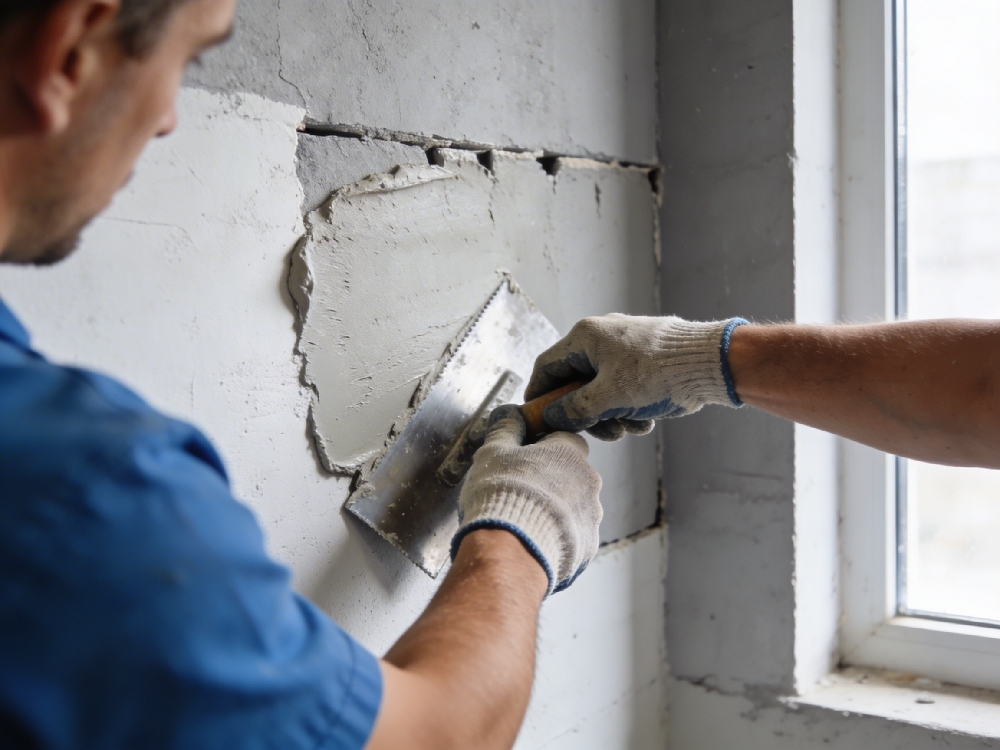
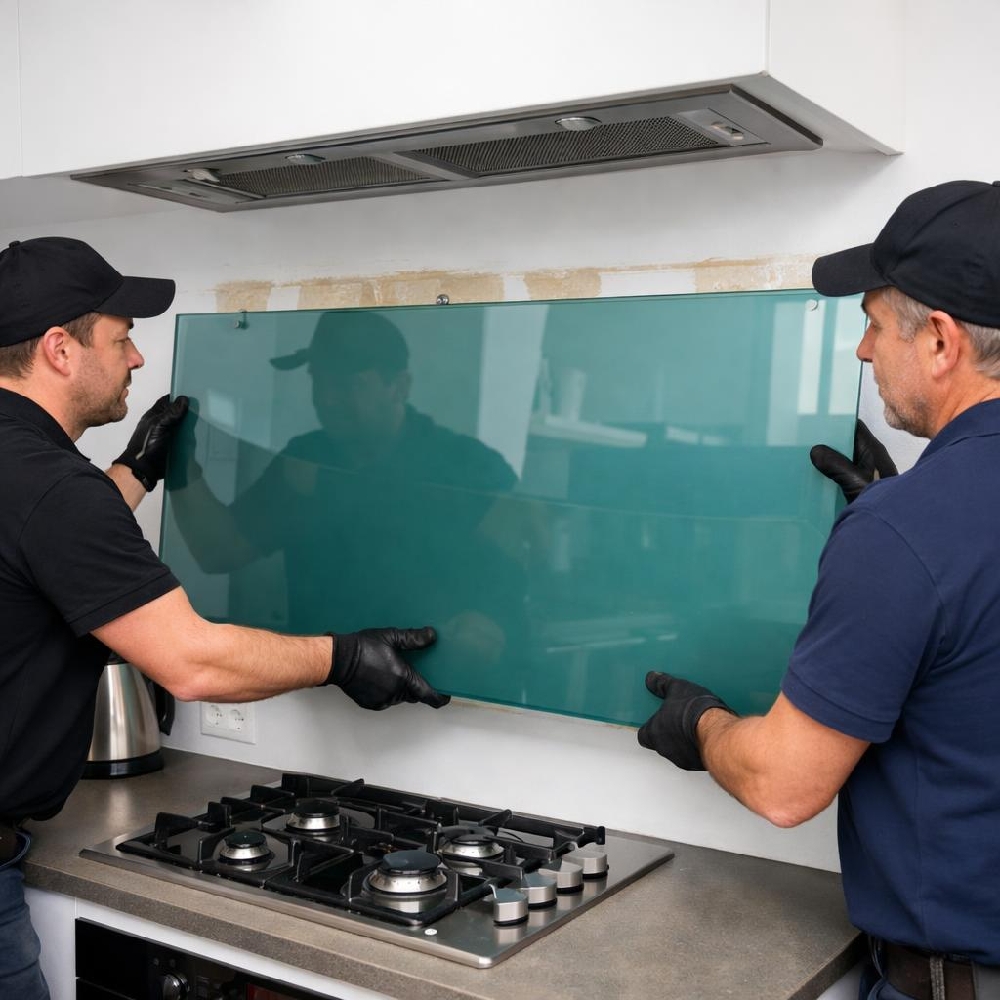
Glass panels are typically released carefully from the adhesive backing, the wall surface is cleaned and prepared, and a new panel is fitted into position. Compared to removing tiles — which often involves grout extraction and potential plaster damage — the process is significantly more controlled.
Why Homeowners Choose to Replace
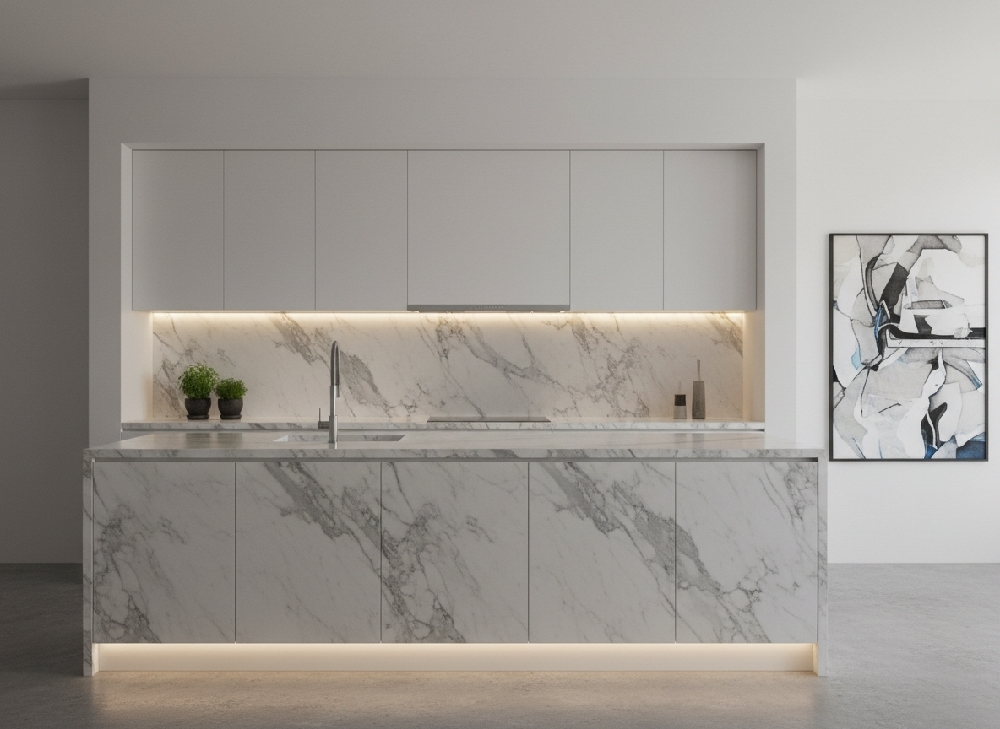
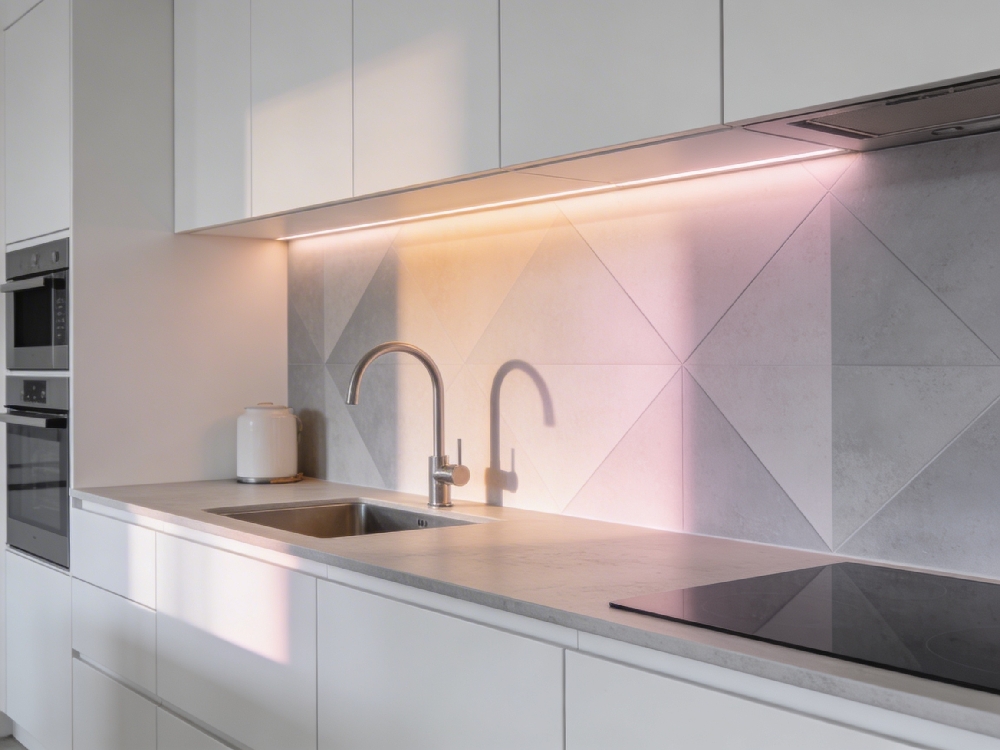
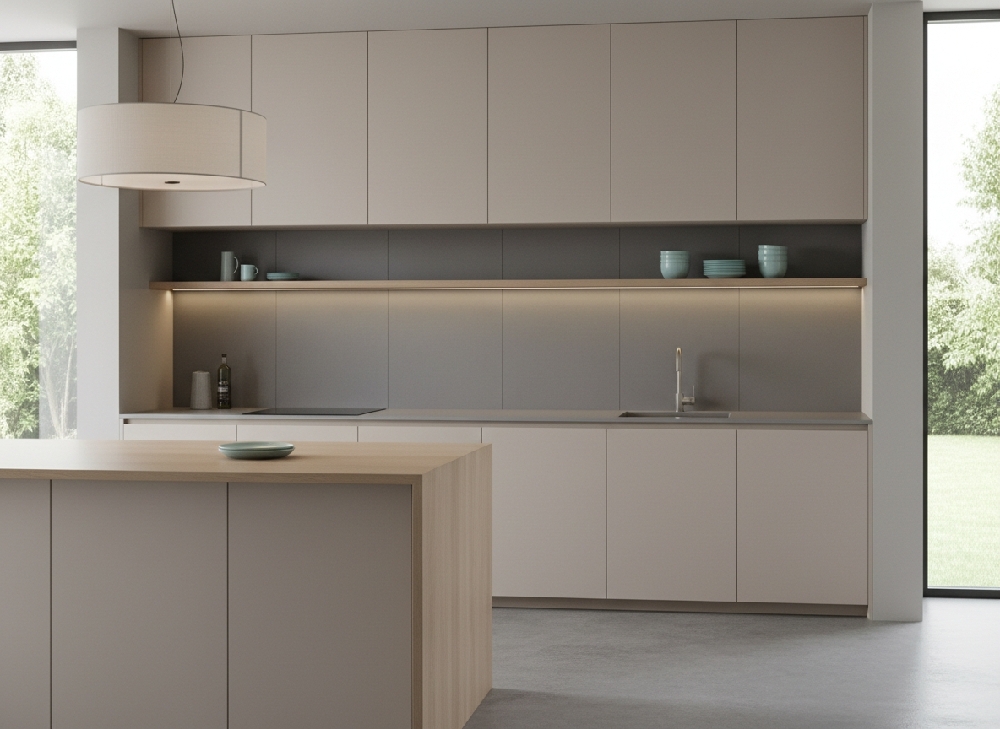
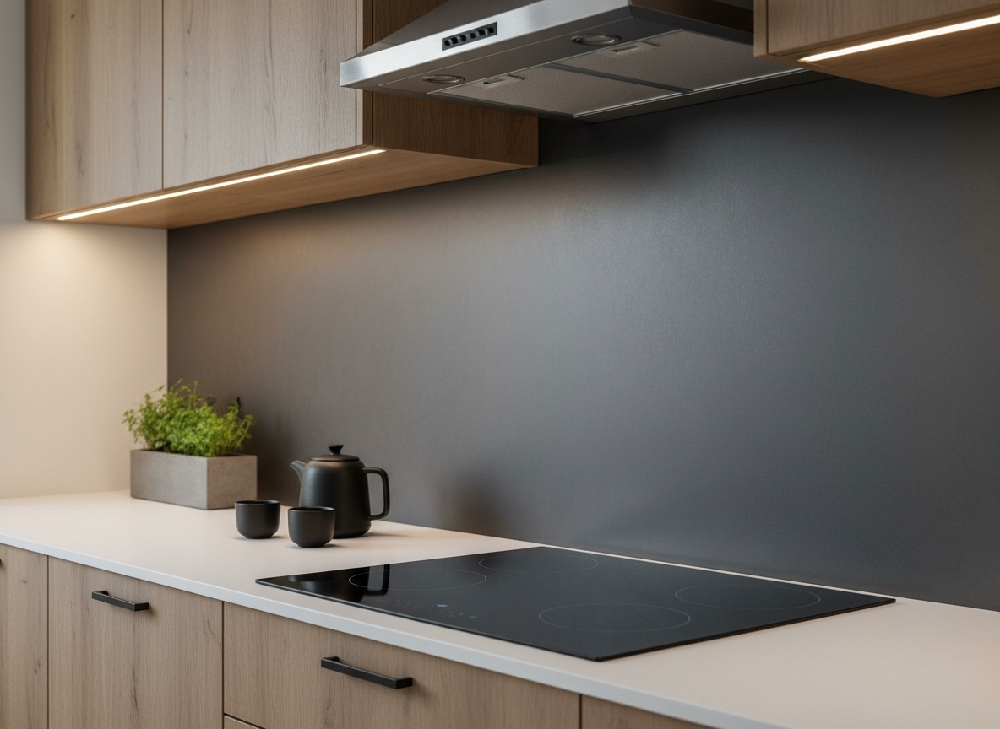
Replacement is often driven by design evolution rather than damage. Kitchens age stylistically before they fail functionally. Updating a splashback allows homeowners to modernize the space without committing to a full renovation.
Common upgrade motivations include:
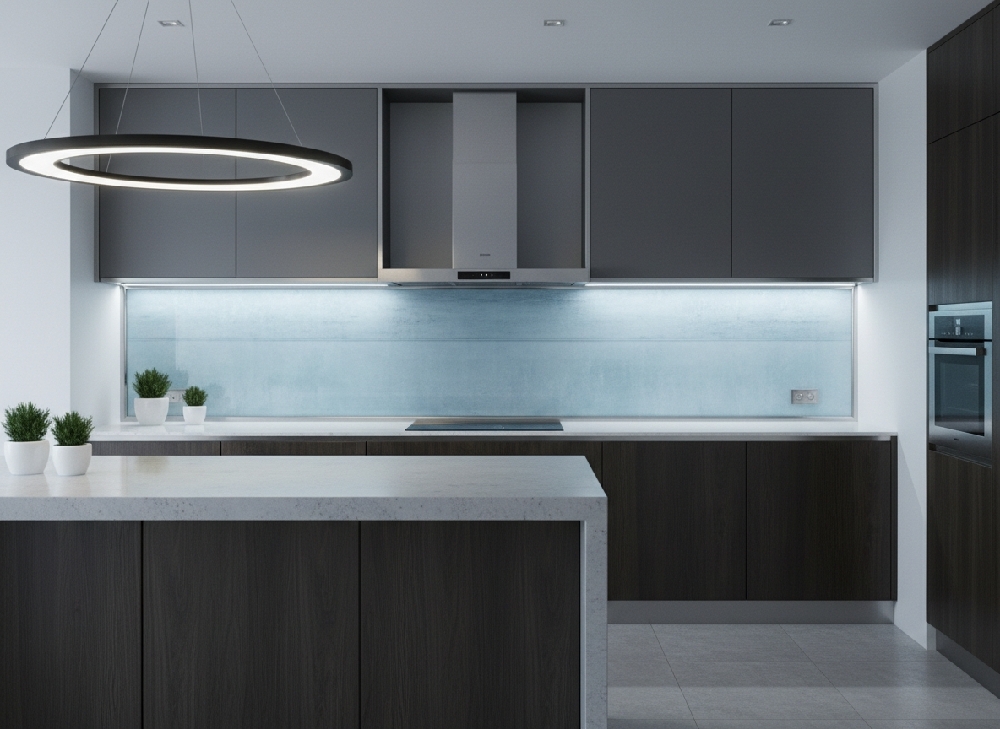
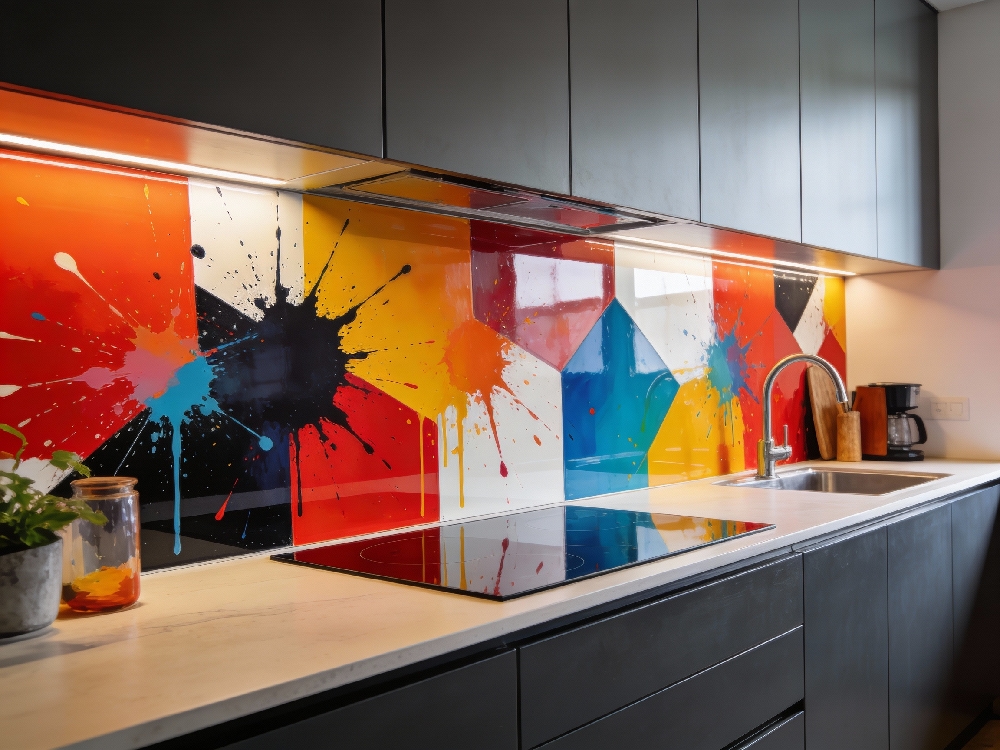
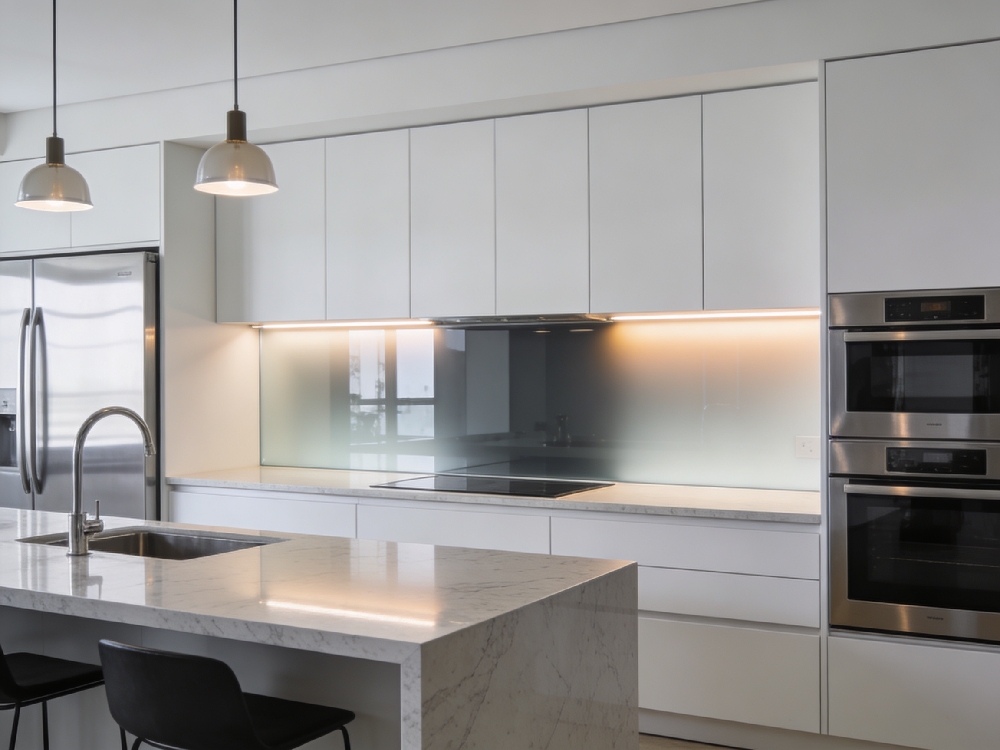
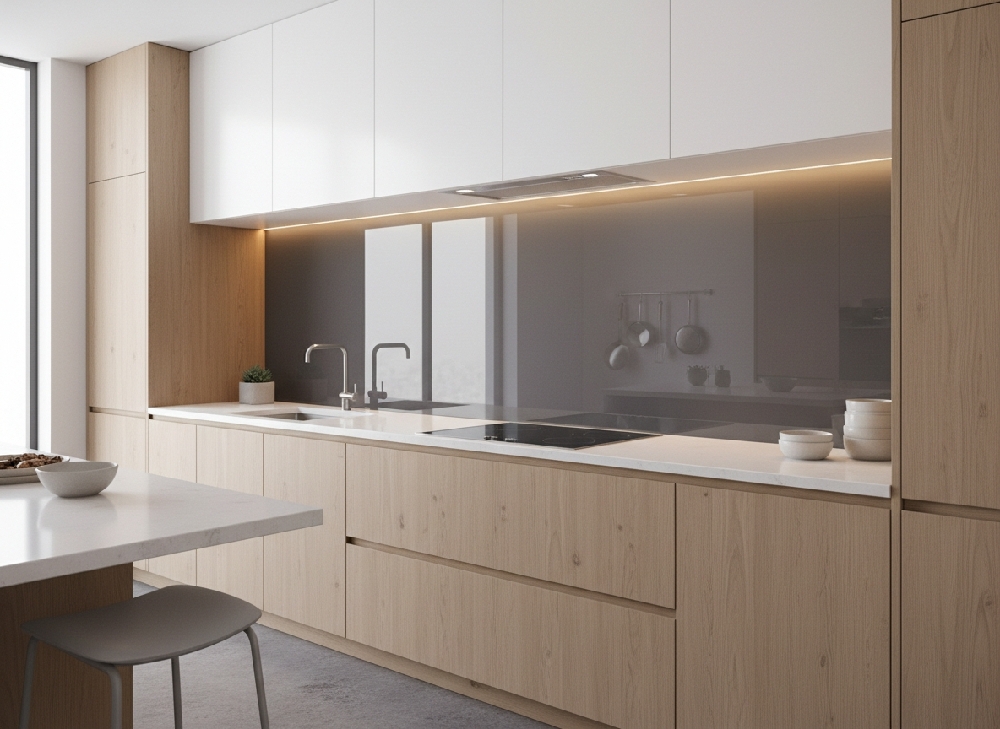
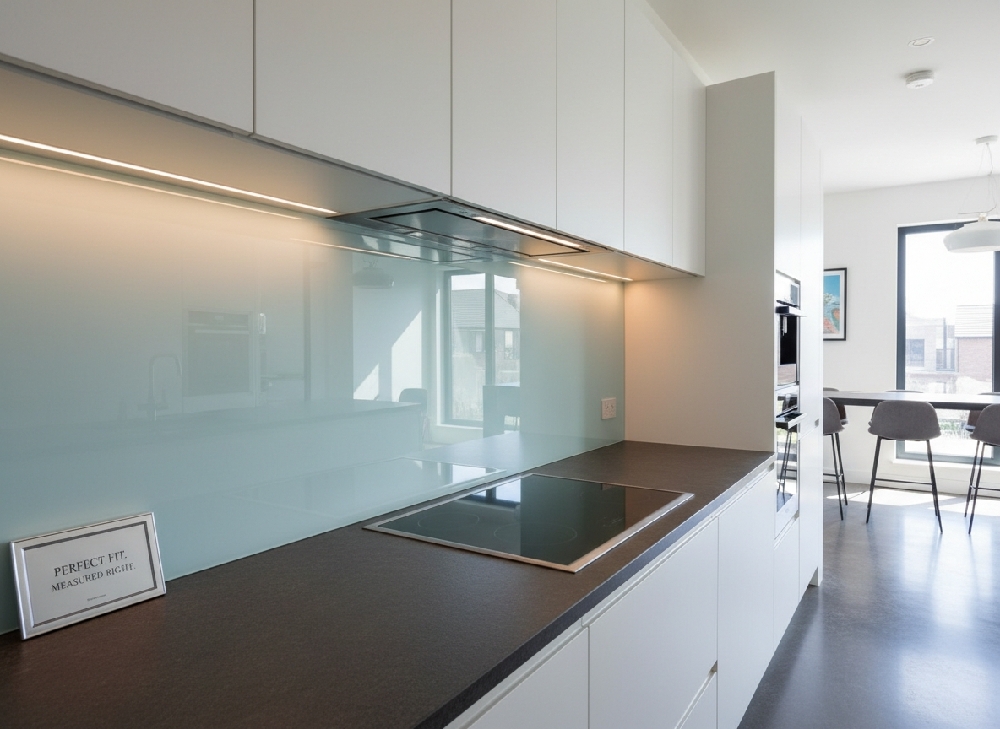
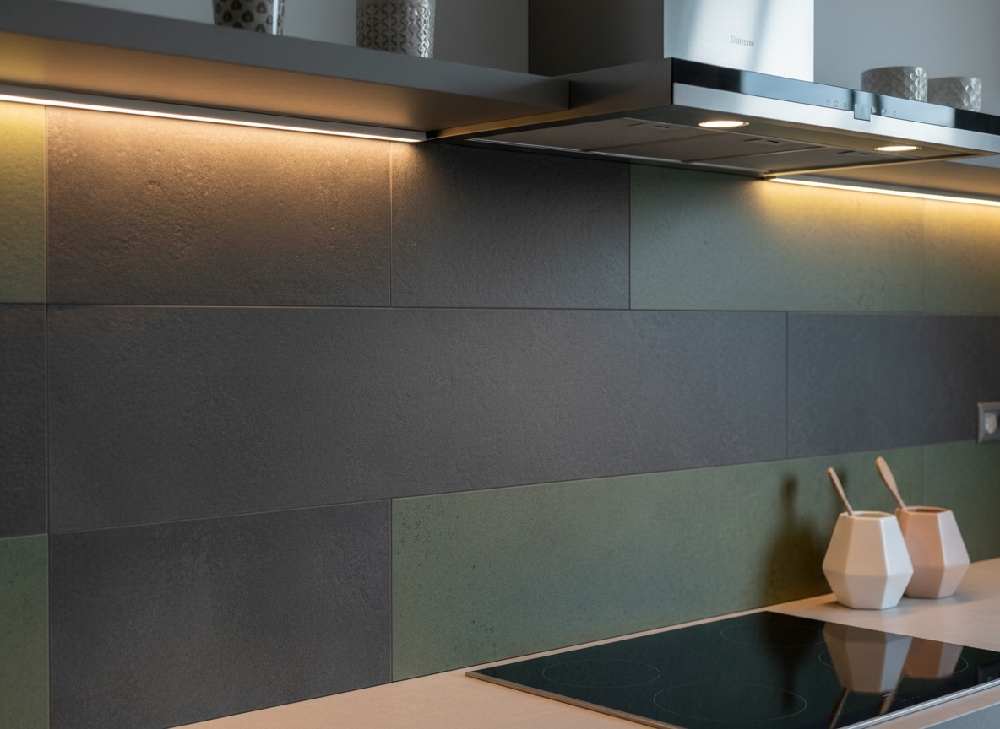
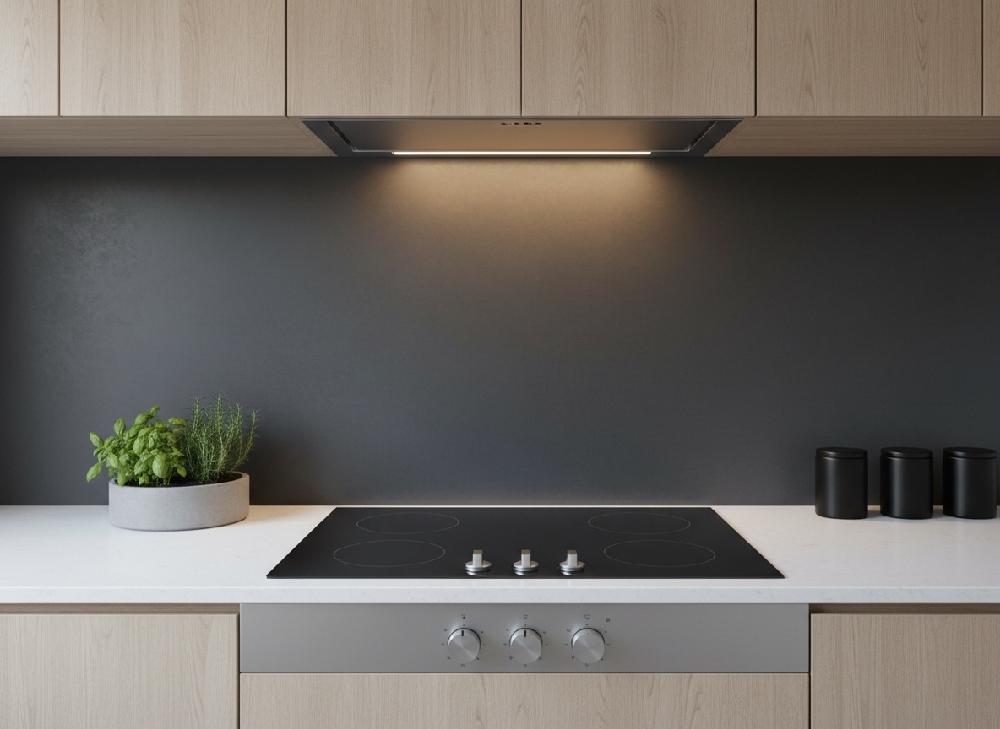
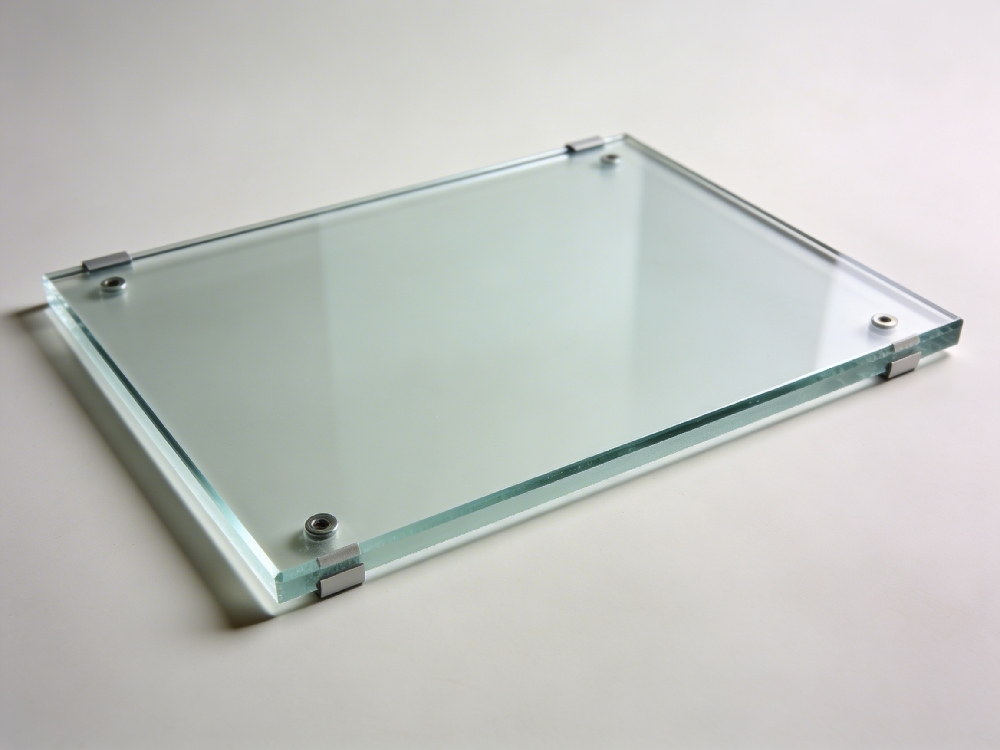
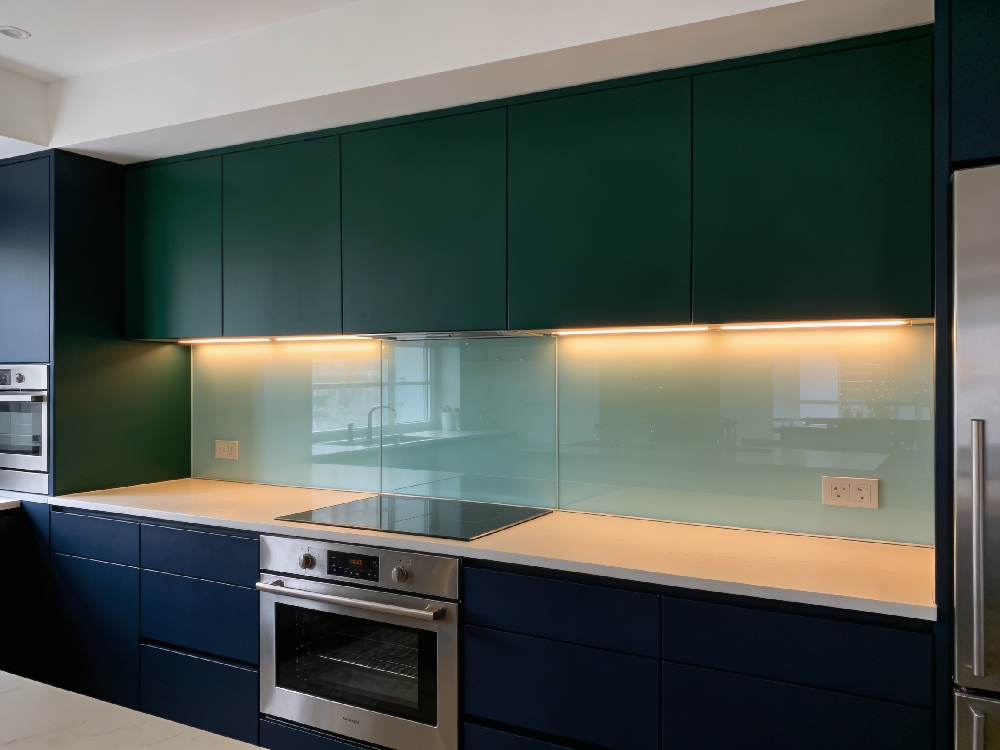
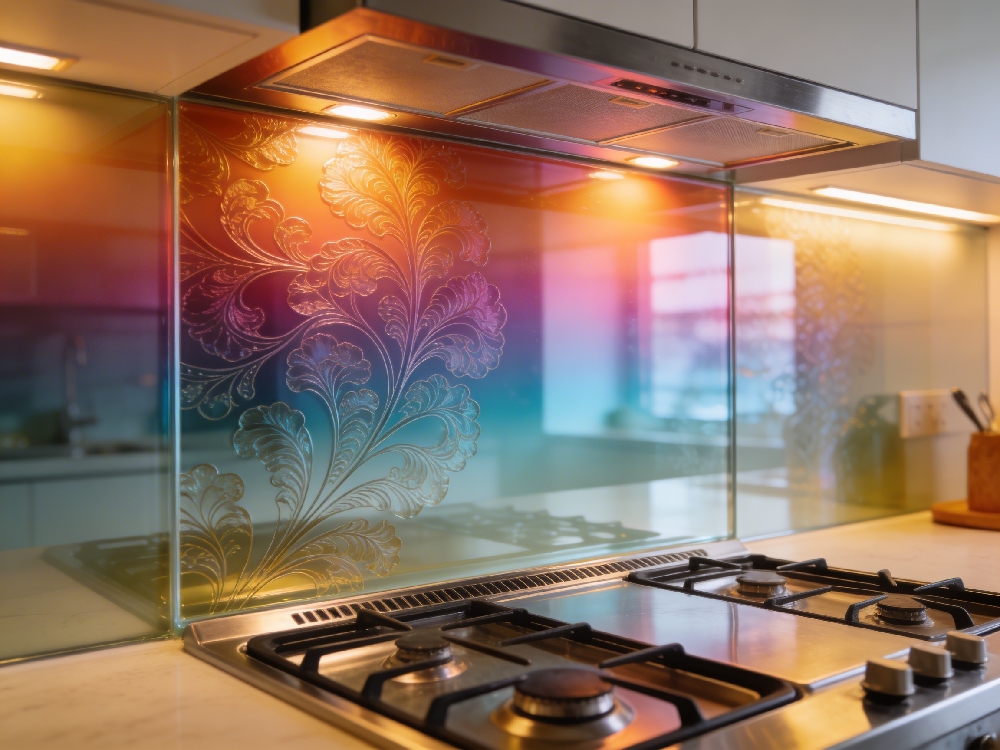
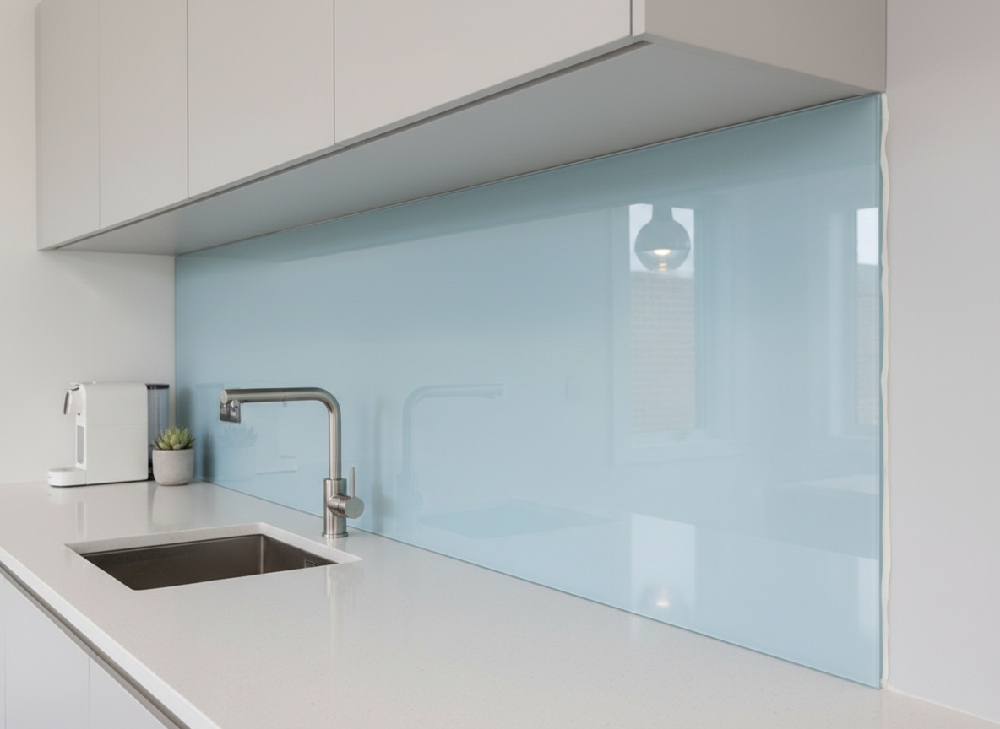
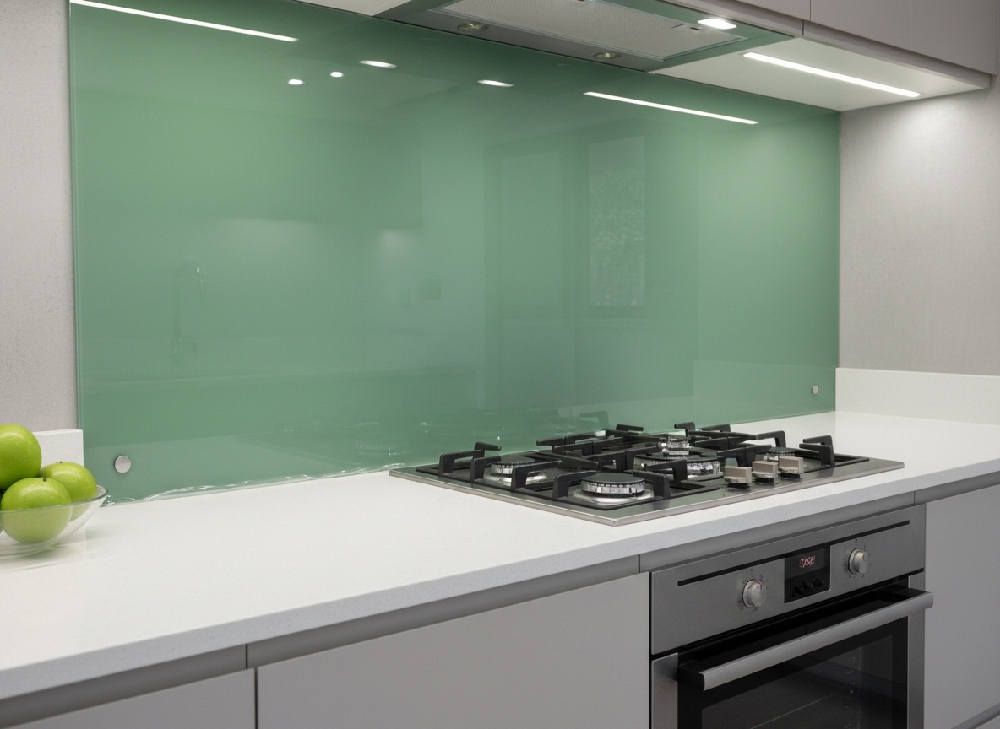
• Transitioning from tiles to seamless glass
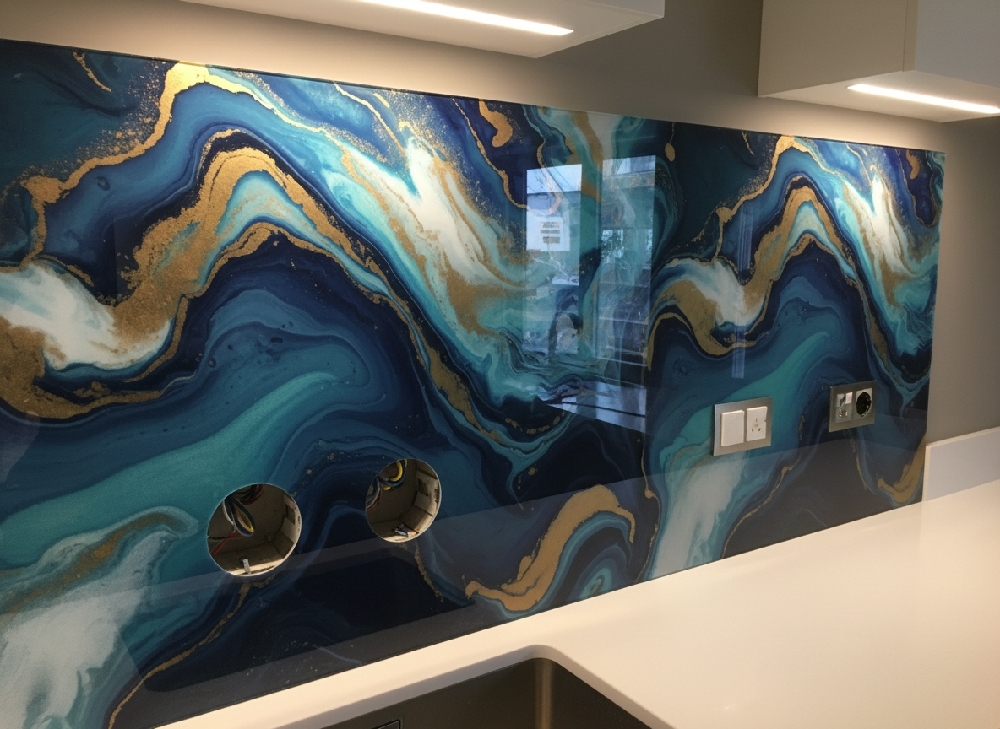
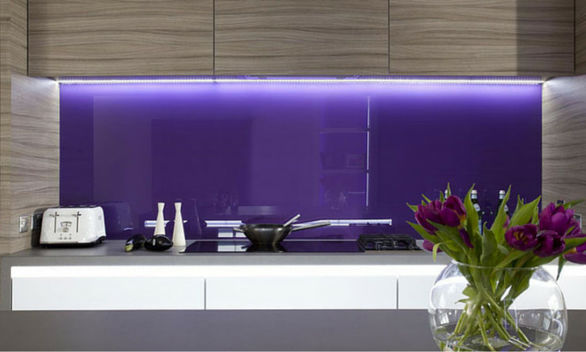
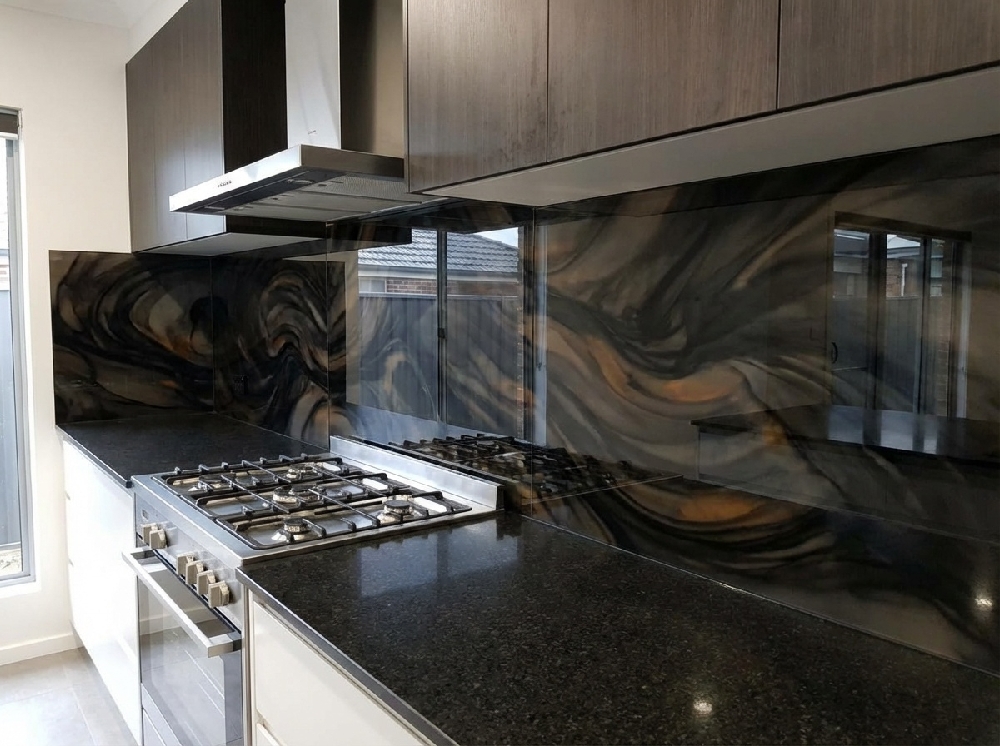
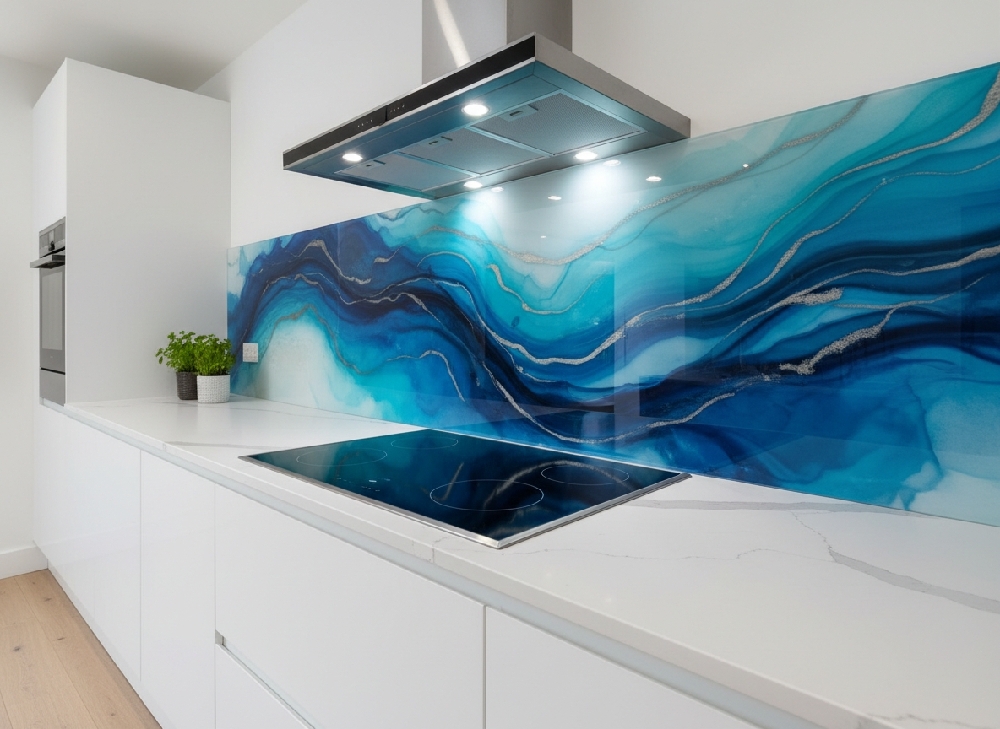
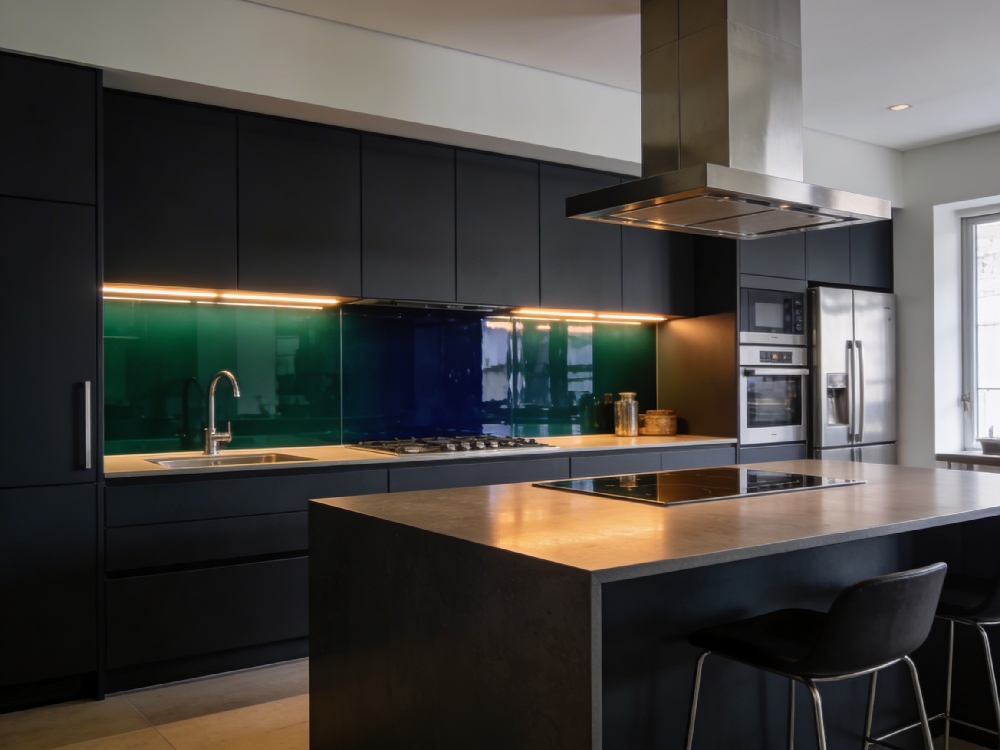
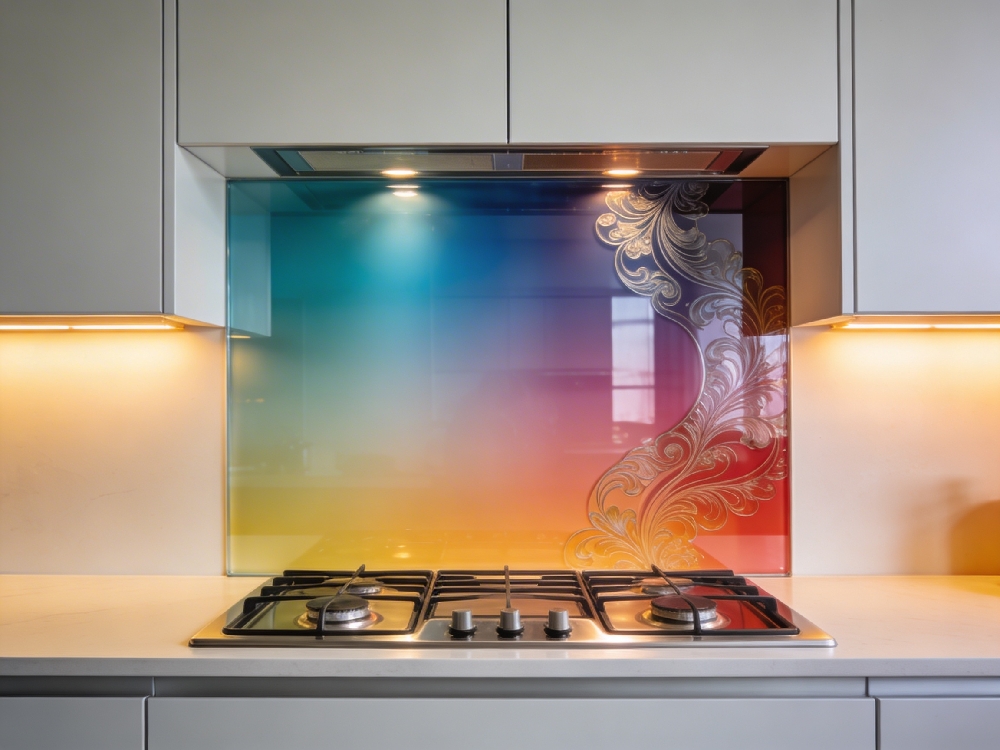
• Shifting from neutral to statement colors
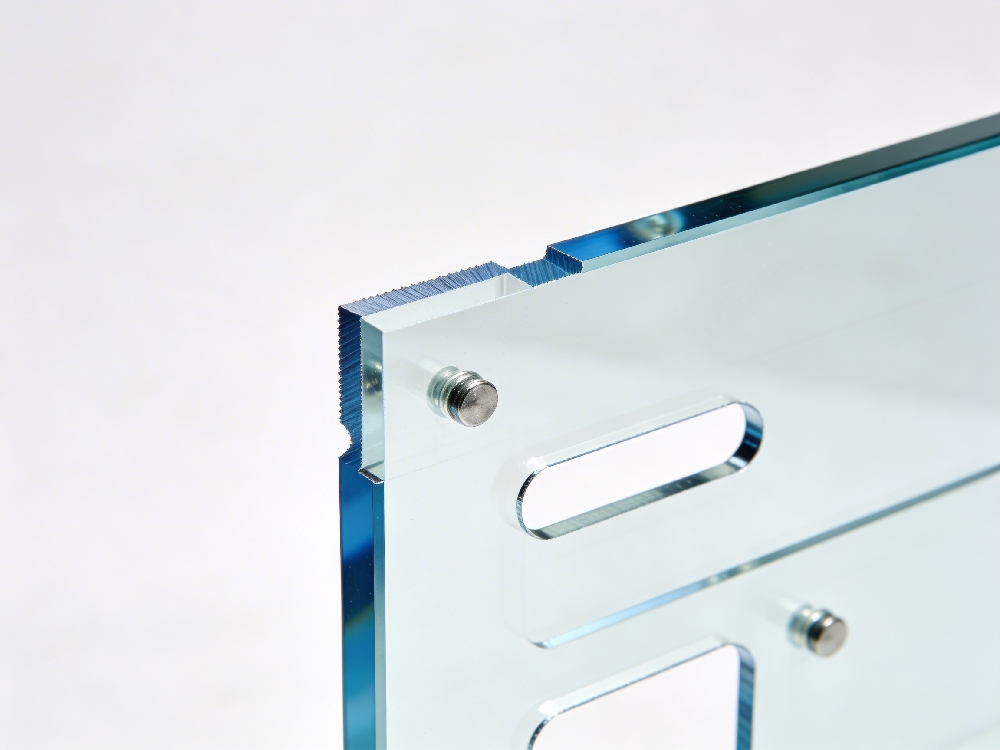
• Upgrading from acrylic to toughened glass
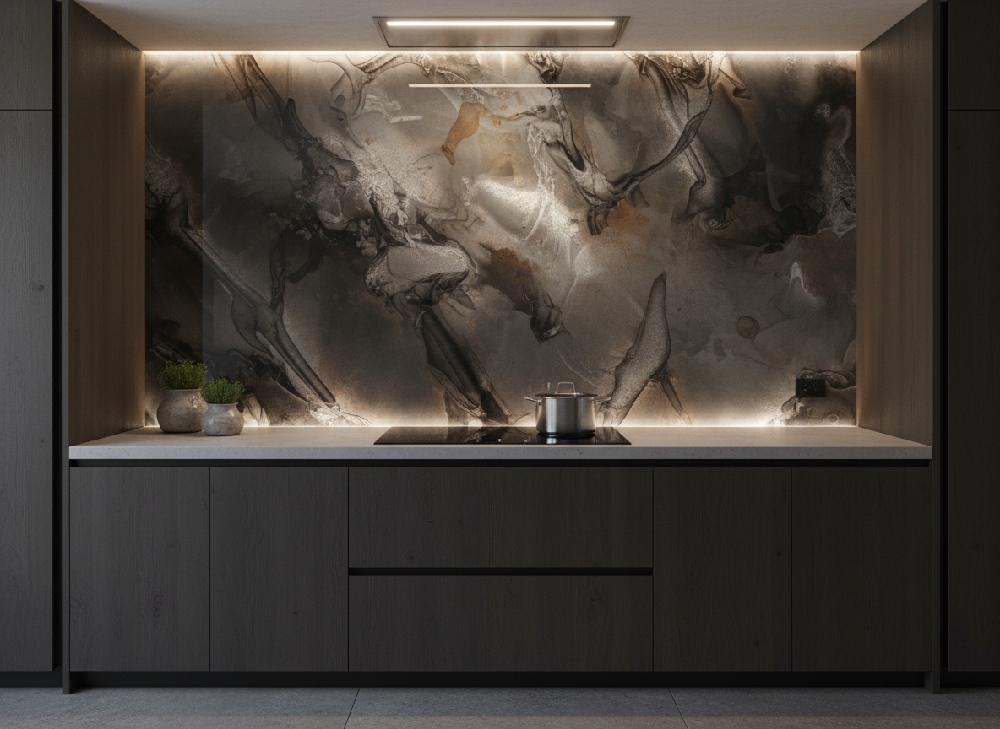
• Refreshing a dated kitchen aesthetic
Because the splashback occupies a visual focal zone, even a single-panel change can materially alter the kitchen’s appearance.
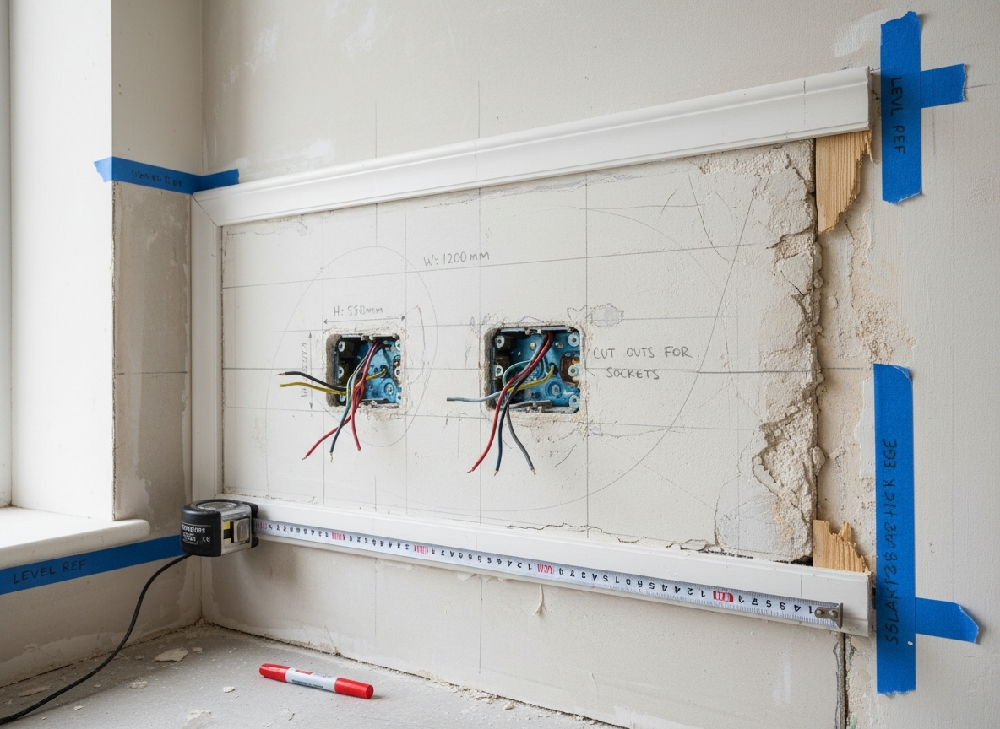
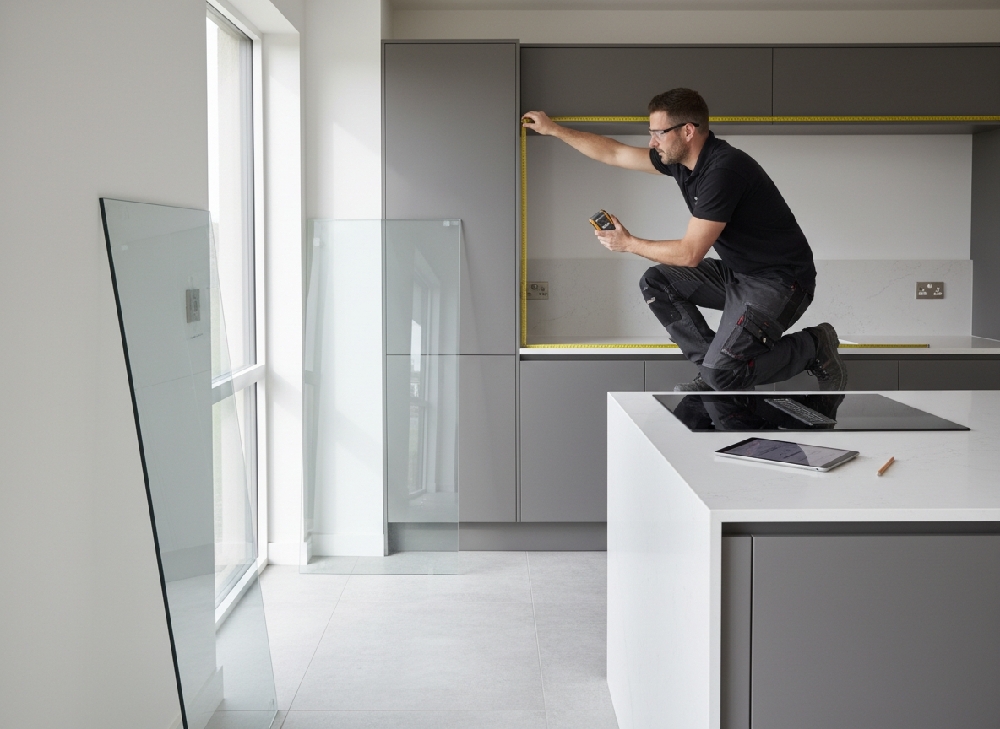
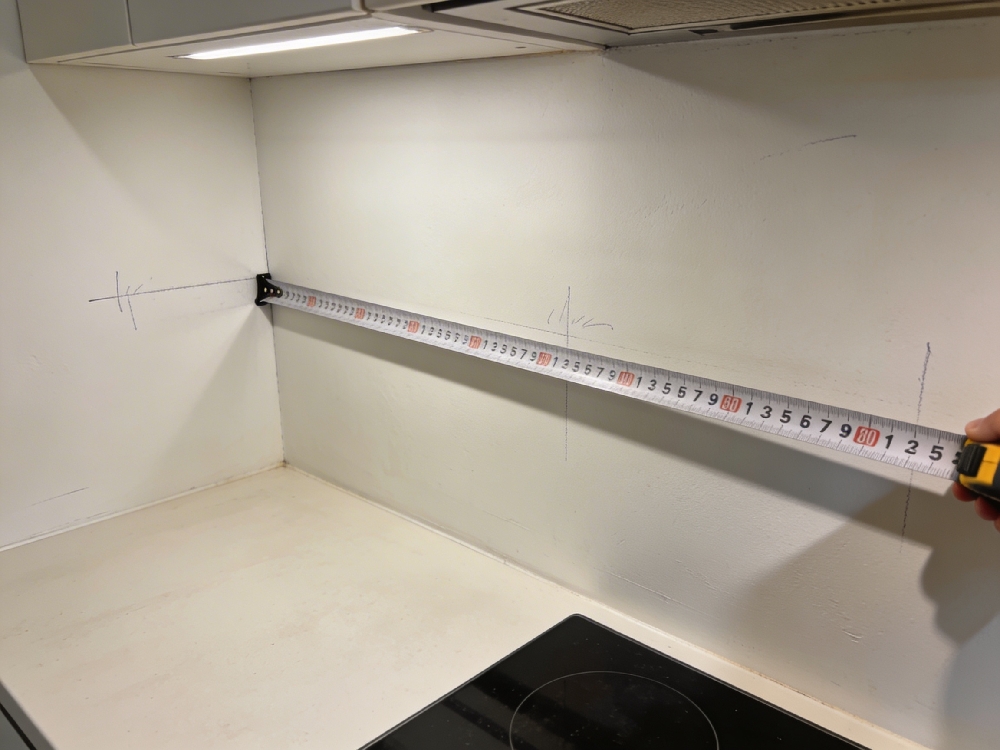
Measurement: The Critical Control Point
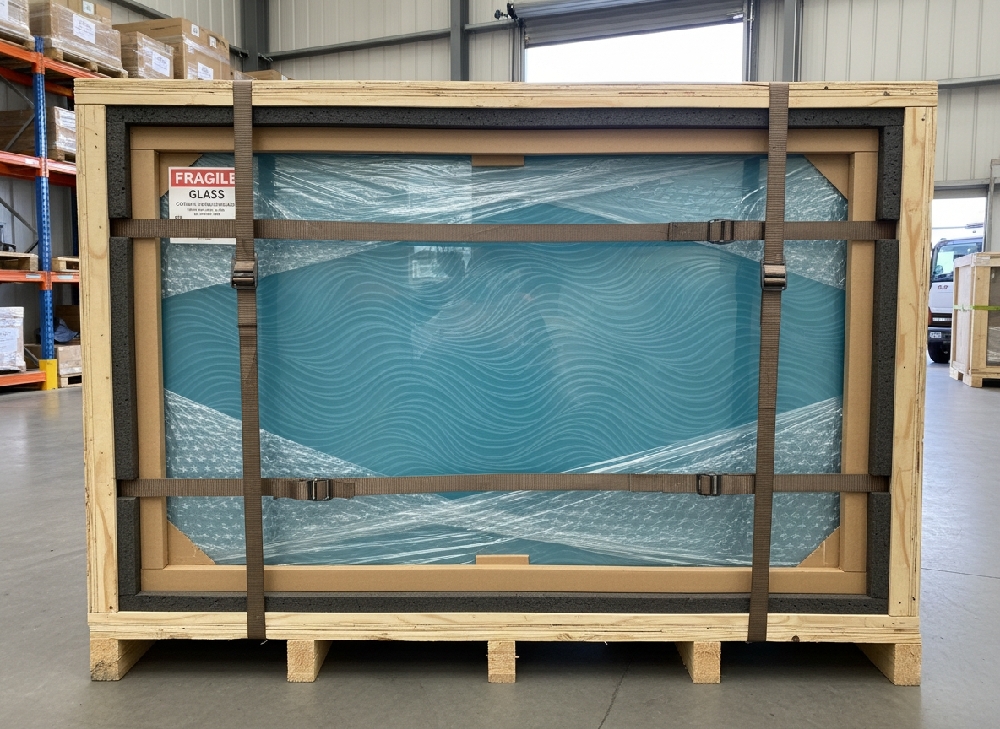
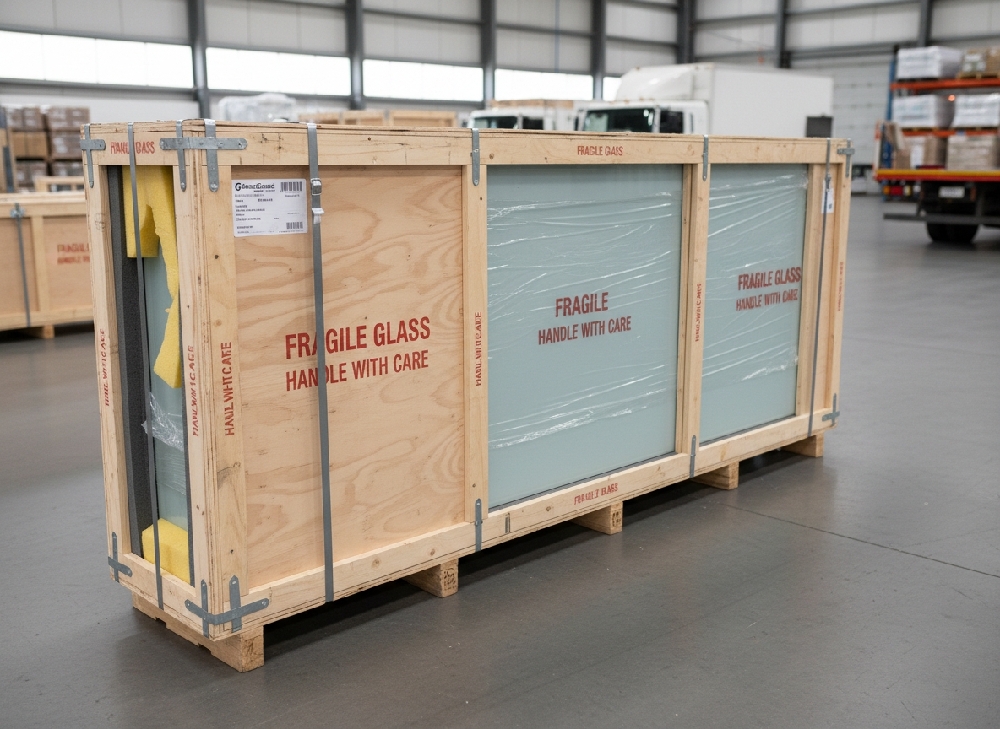
Precision governs success. Toughened glass cannot be resized once manufactured. Any dimensional error requires full replacement of the panel.
Accurate measurement must account for:
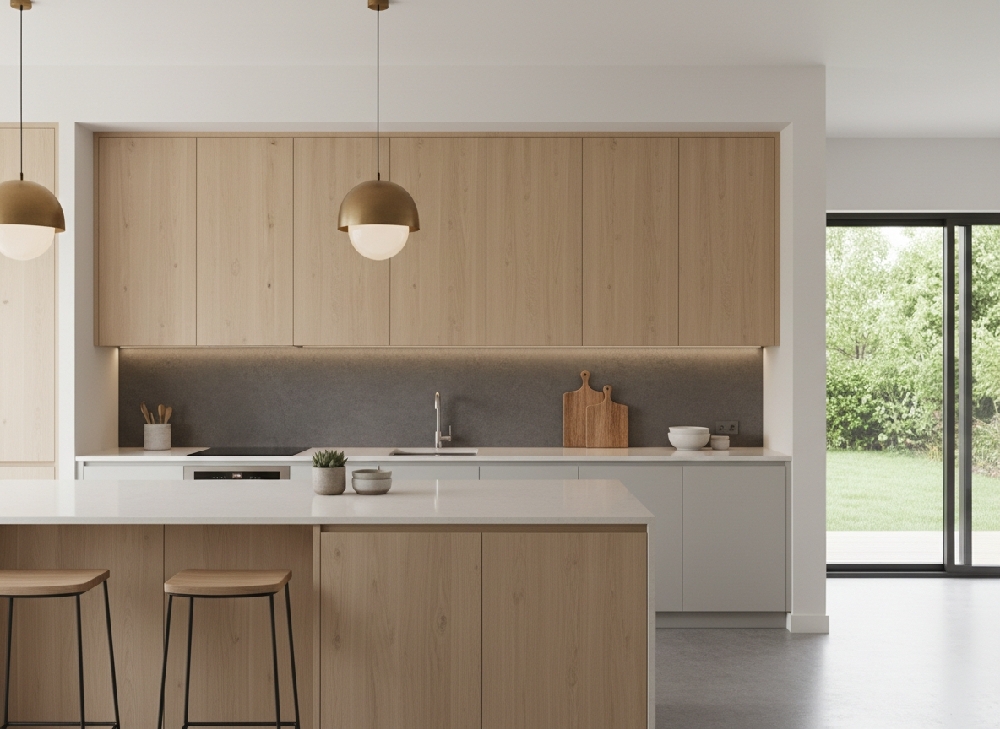
• Full width and height
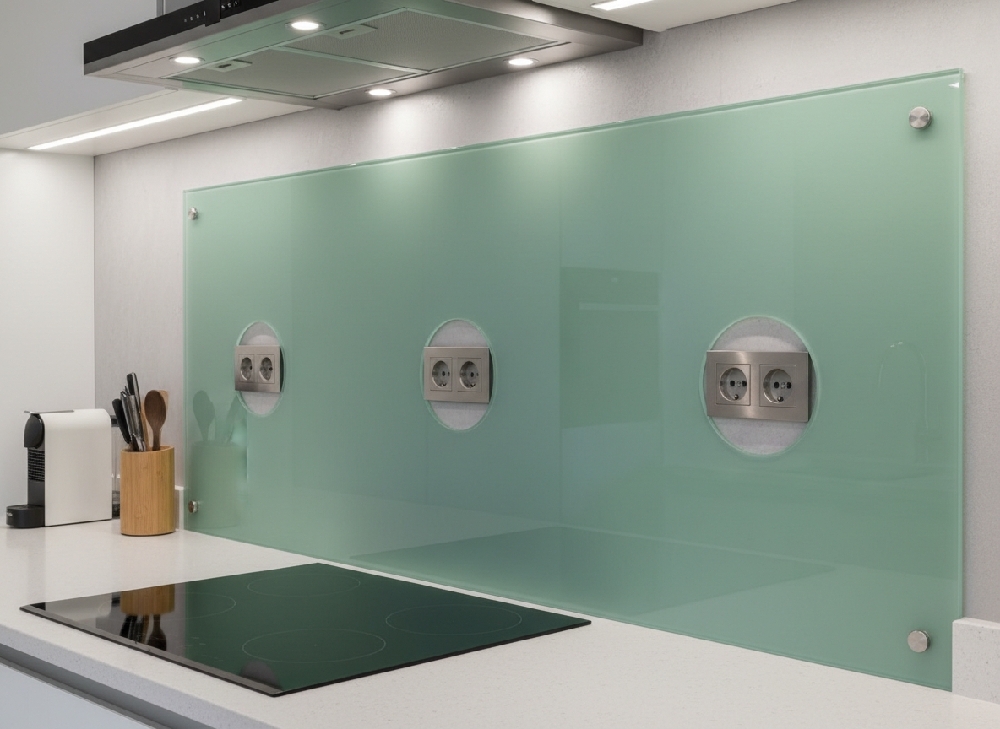
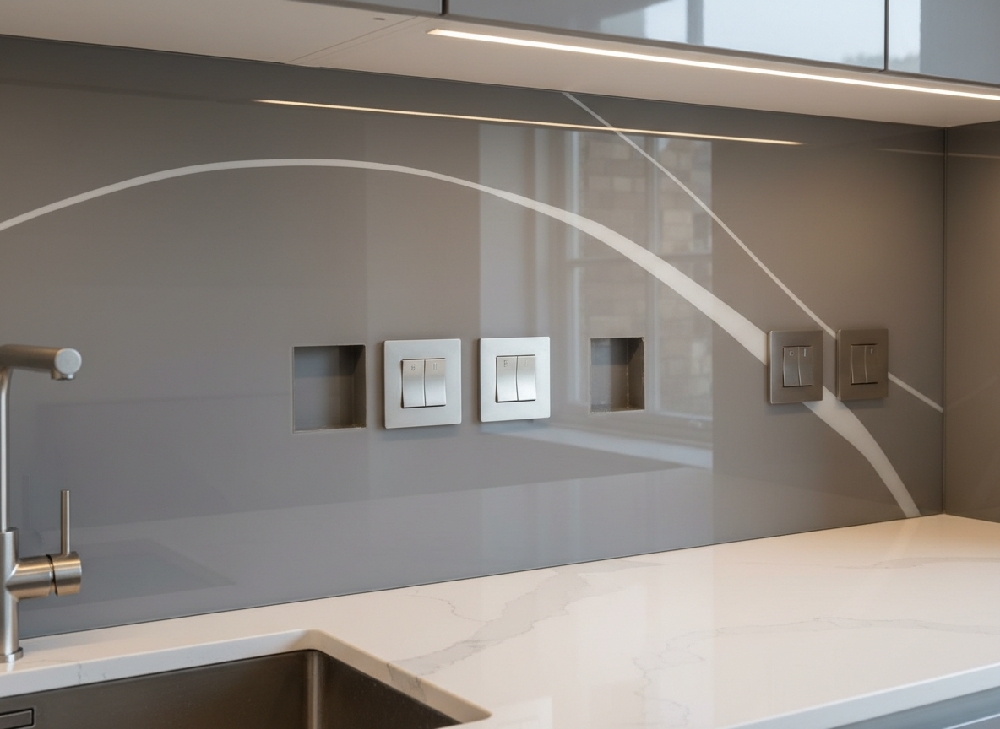
• Socket and switch cut-outs
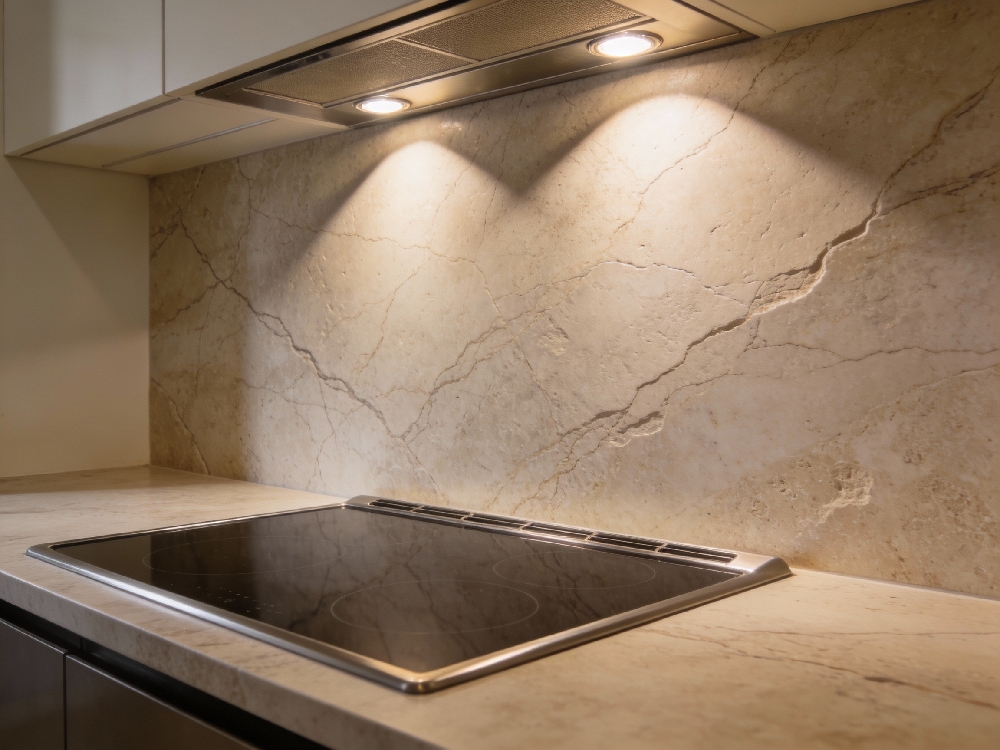
• Extractor hood clearances
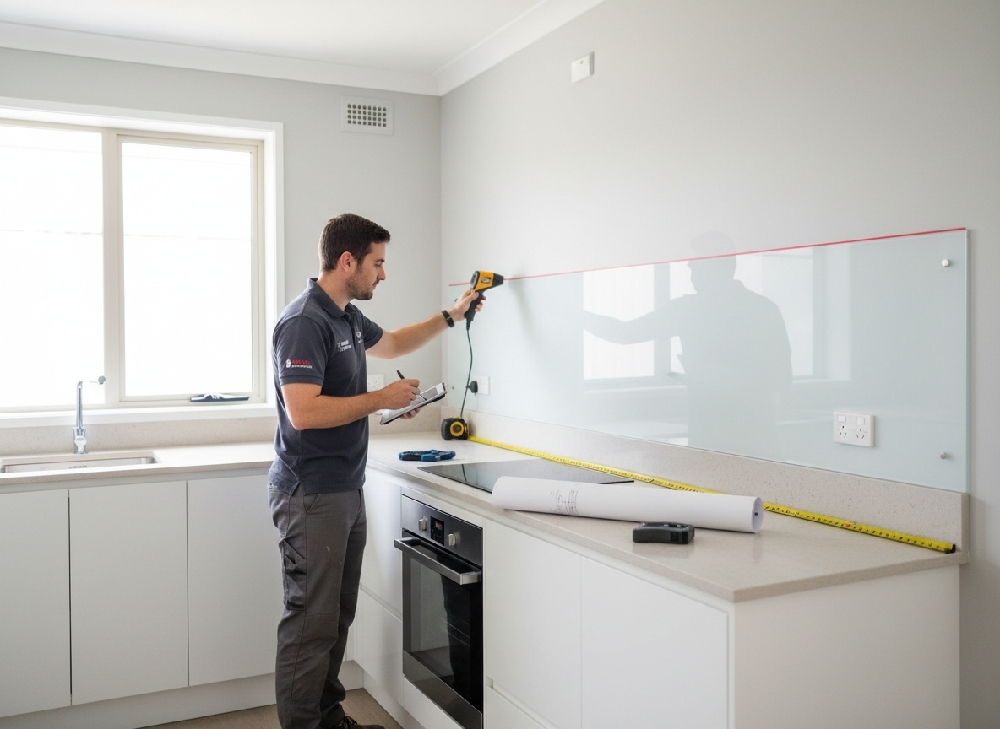
• Any minor wall irregularities
Suppliers such as DIY Splashbacks fabricate panels exactly to the specifications provided. Measurement accuracy directly determines installation efficiency.
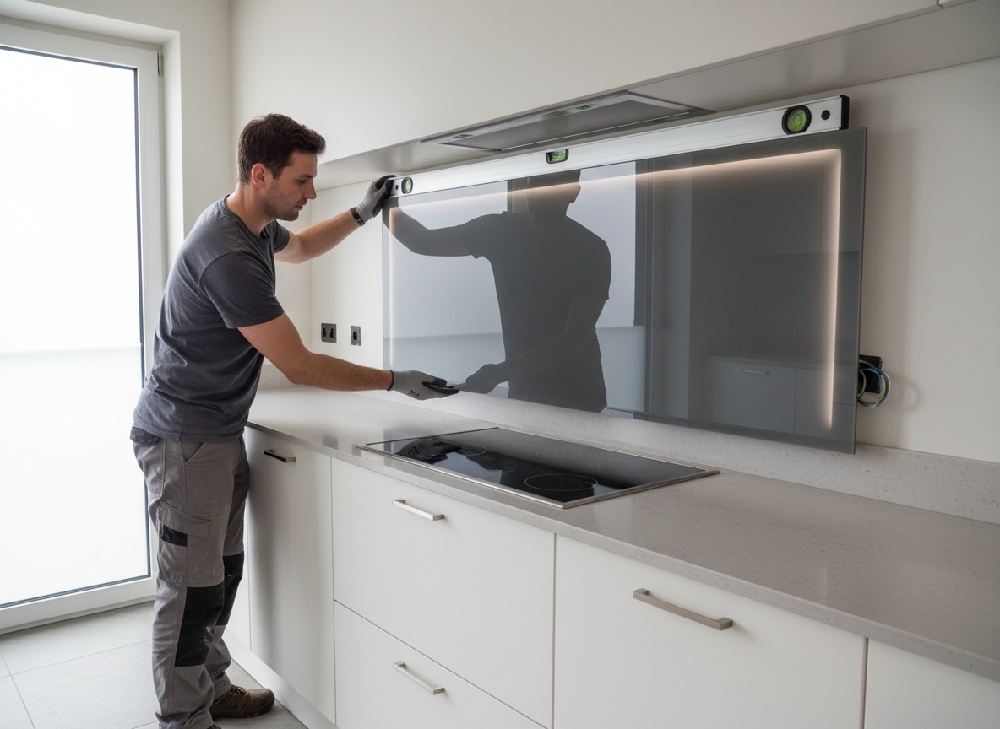
Installation Considerations
While many homeowners manage straightforward replacements themselves, larger panels or multiple cut-outs may justify professional installation. This reduces handling risk and ensures precise alignment.
Strategic Conclusion
Splashbacks are among the most adaptable elements within a kitchen. Their non-structural installation allows efficient removal and replacement with minimal disruption. When measured correctly and installed with care, a new splashback delivers immediate visual transformation without the cost or complexity of a full renovation.