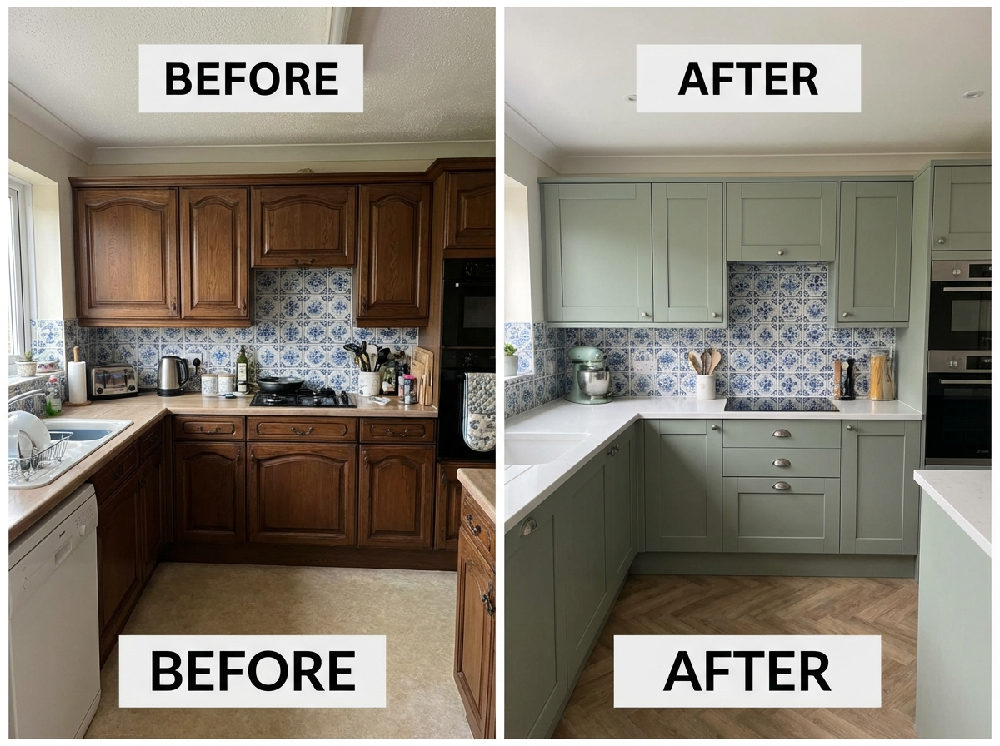
Can Splashbacks Be Reused During Renovations?
Renovations are capital-intensive. Every retained component improves margin efficiency. One question frequently raised during kitchen upgrades is whether an existing splashback can be reused rather than replaced.
The answer: sometimes—but only under specific conditions. Reusability depends on material type, removal method, age, and redesign scope.
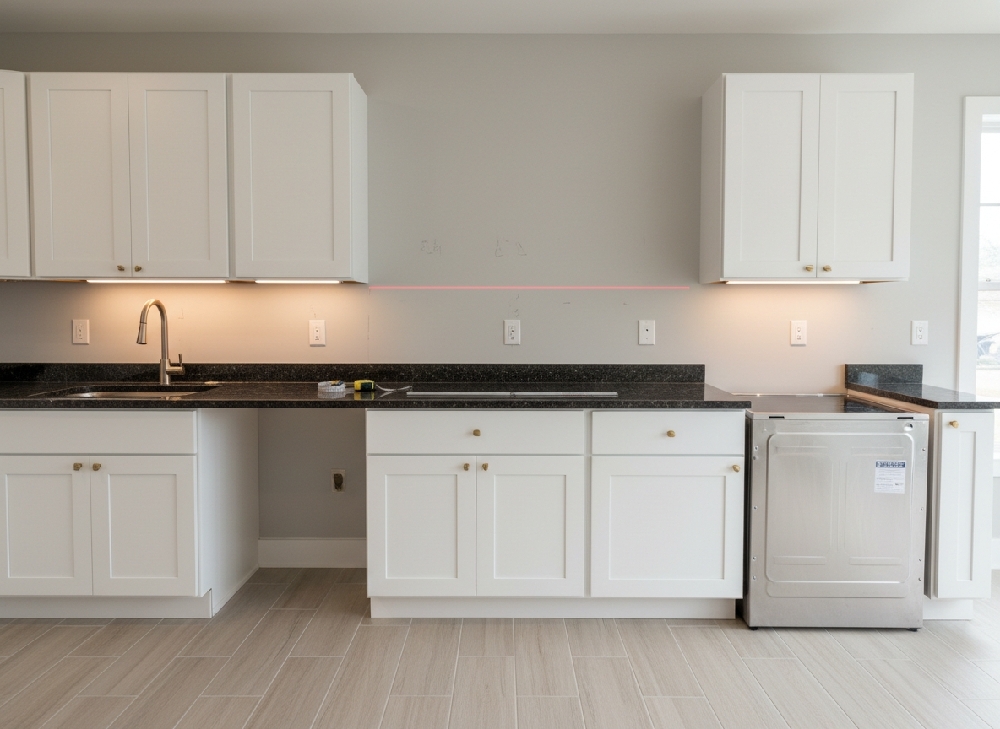
When Reusing a Splashback Is Possible
Splashbacks can be reused if they meet three core criteria:
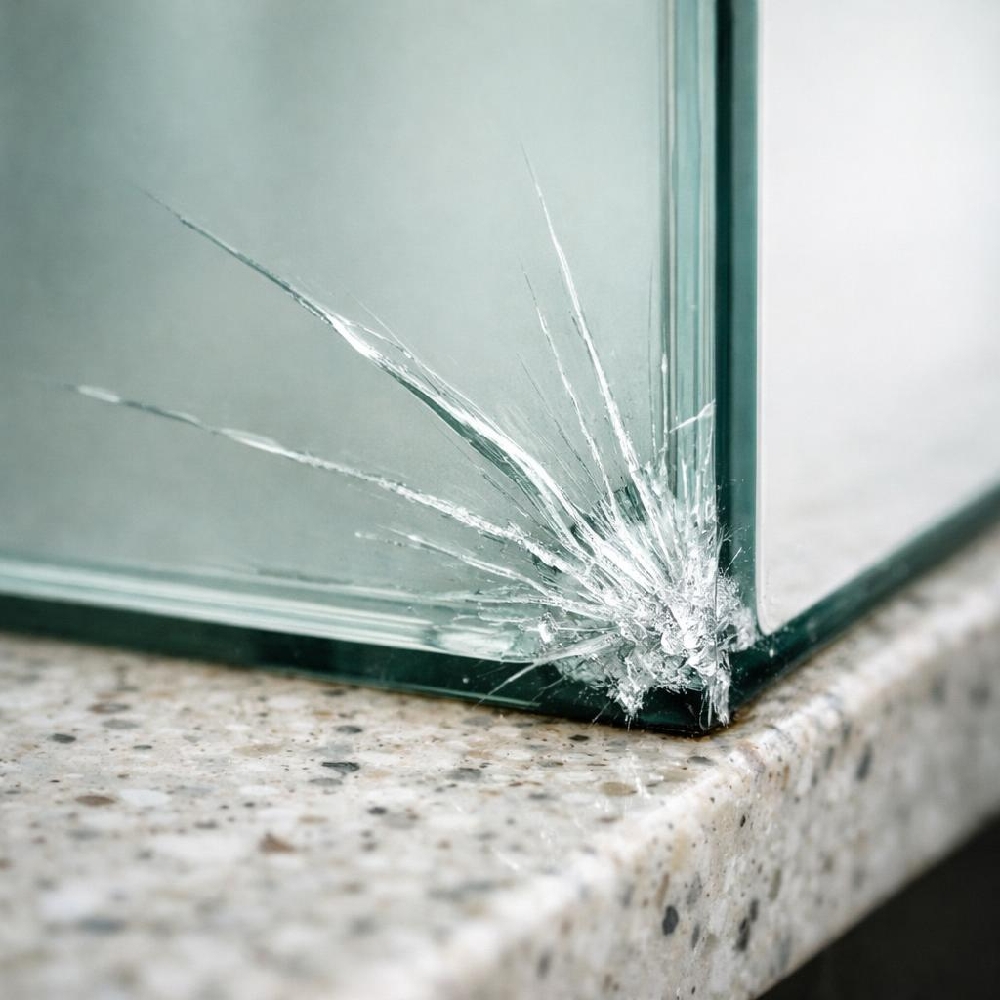
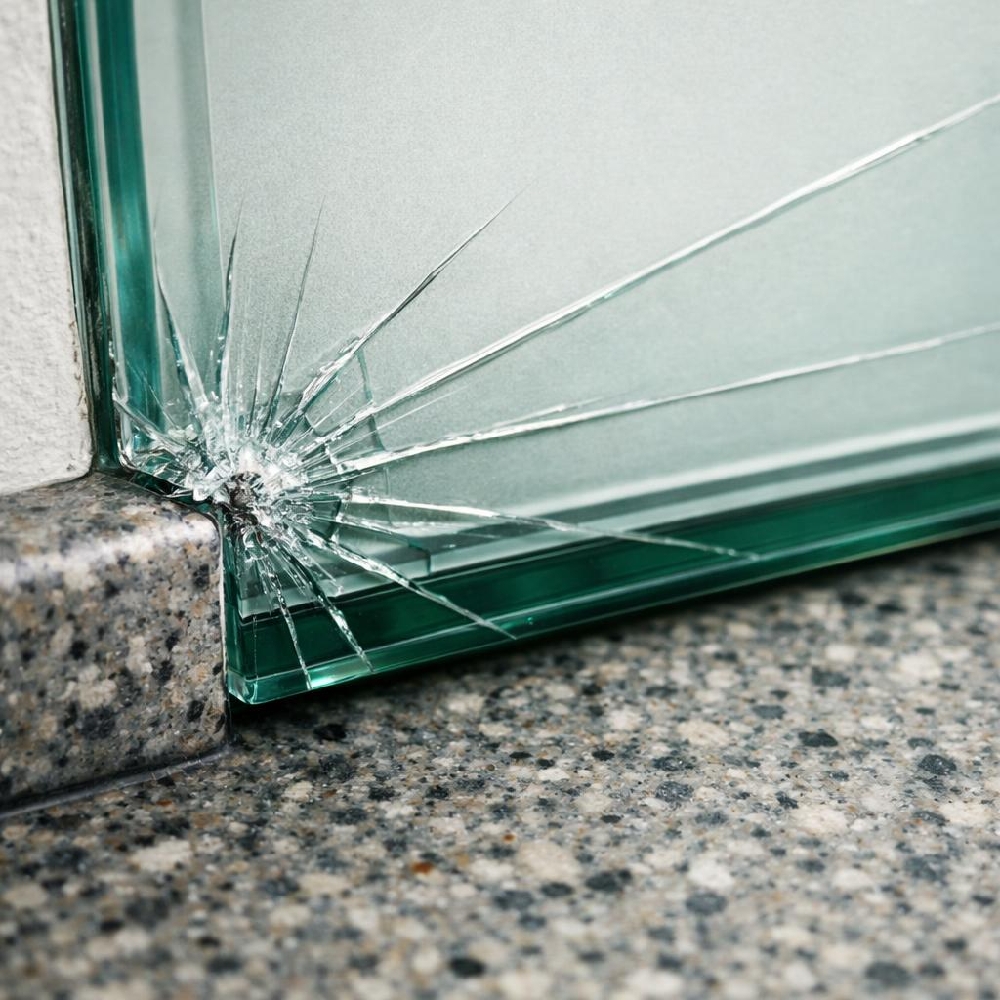
They are structurally intact
No cracks, warping, delamination, or heat damage.They were originally installed mechanically or with minimal adhesive
Panels fixed with screws or brackets are easier to remove without damage. Fully bonded panels are more difficult to salvage.The new layout matches the old dimensions
Even minor changes in cabinetry or appliance positioning can render the existing panel incompatible.
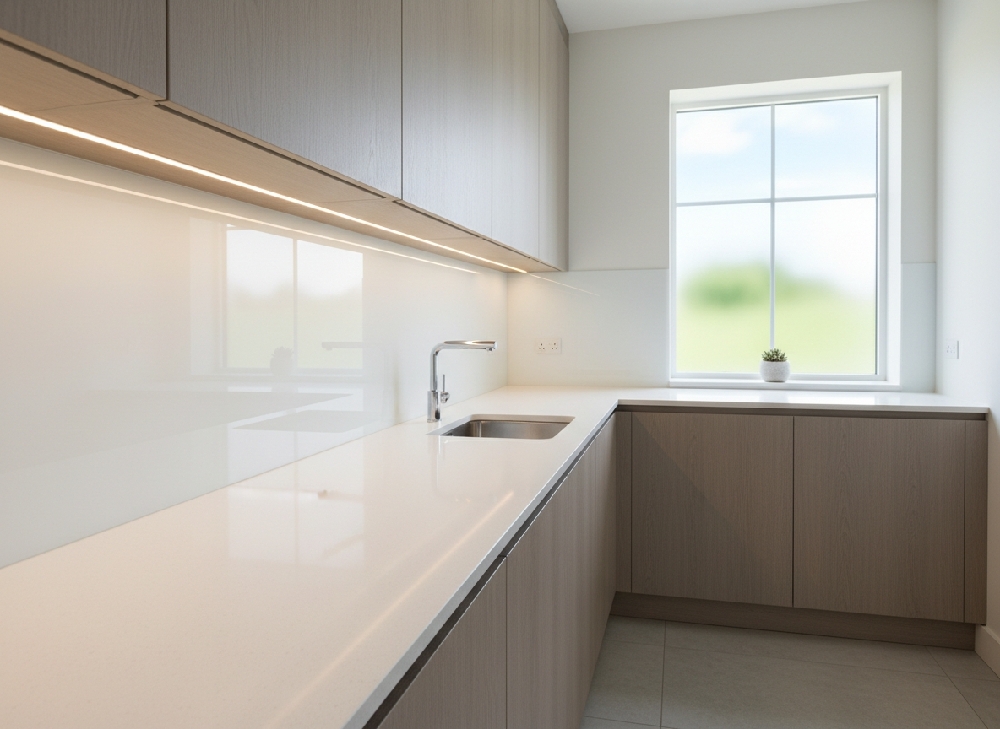
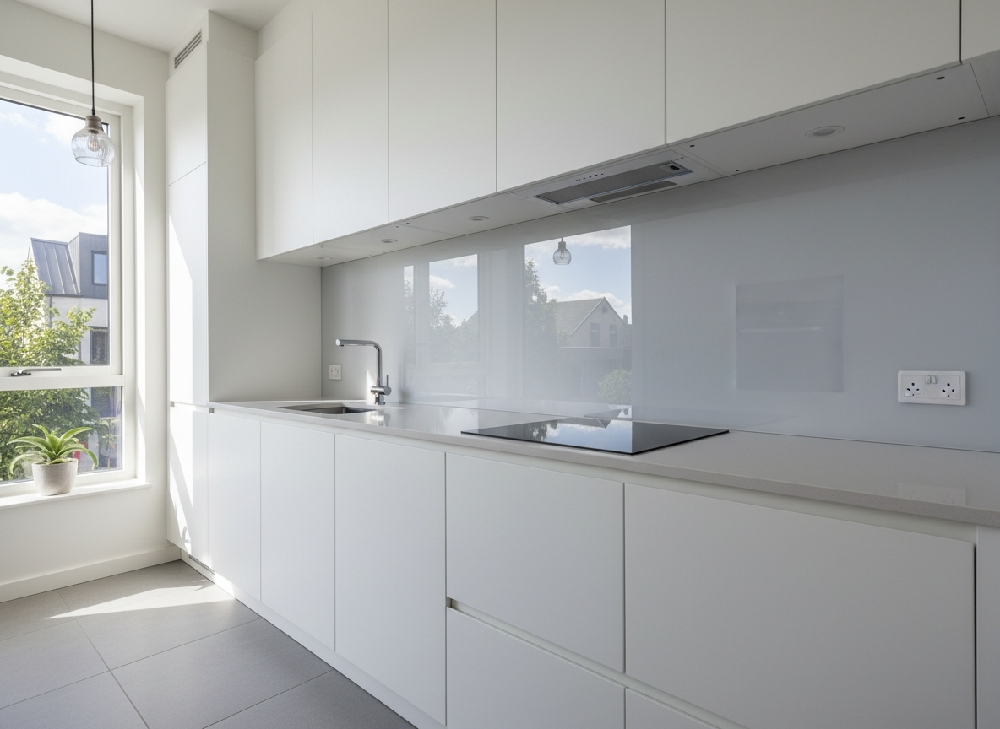
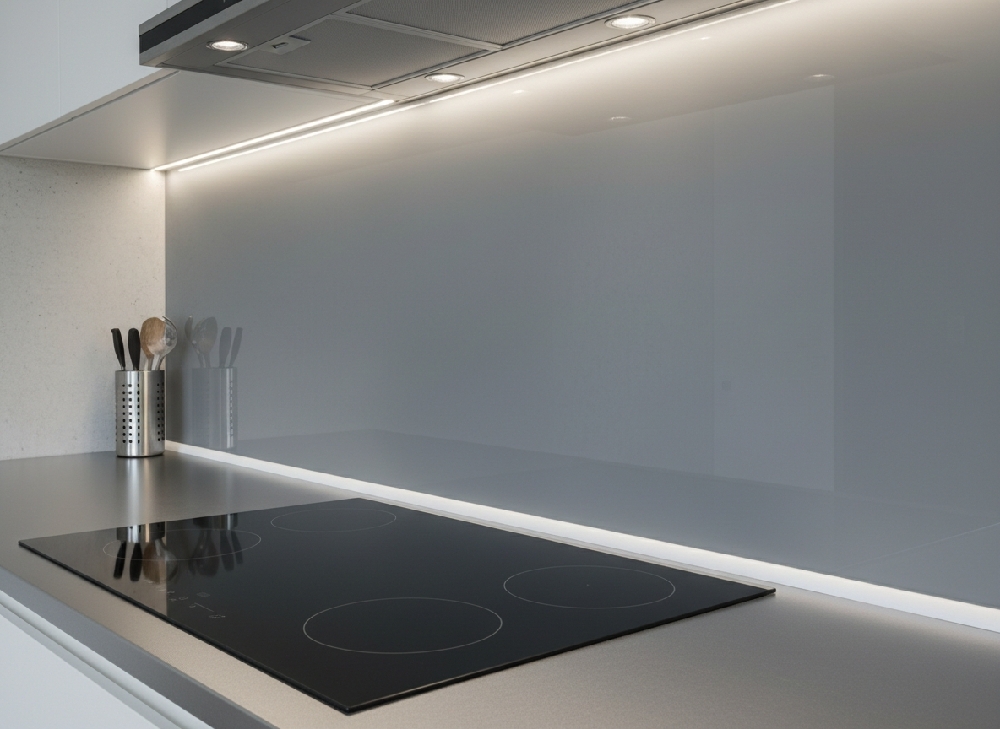
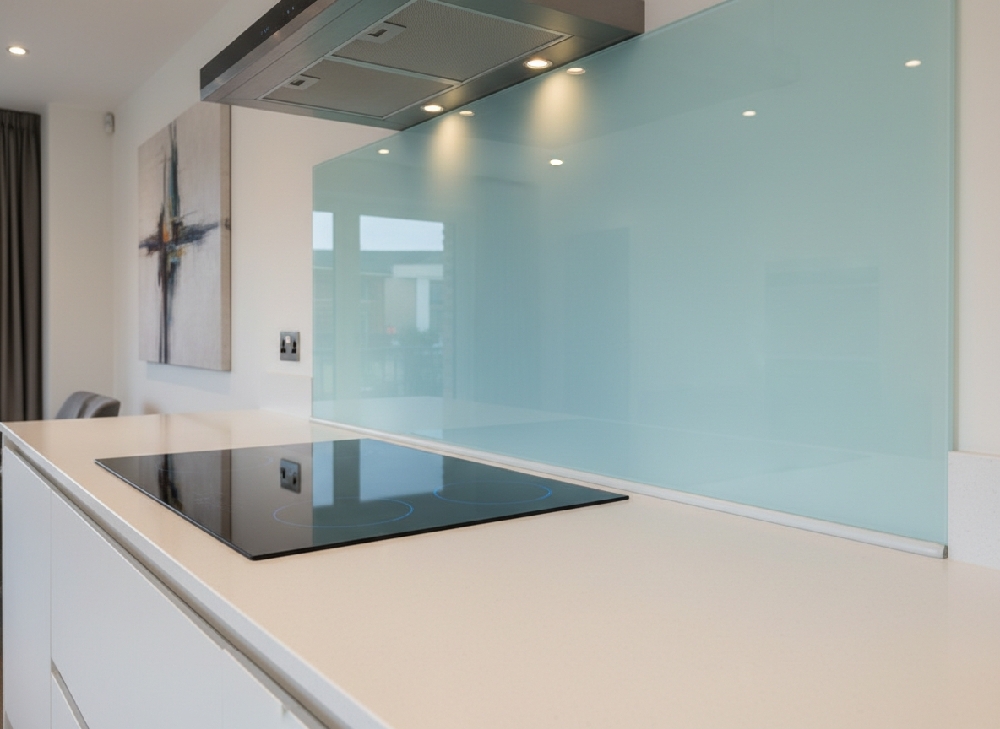
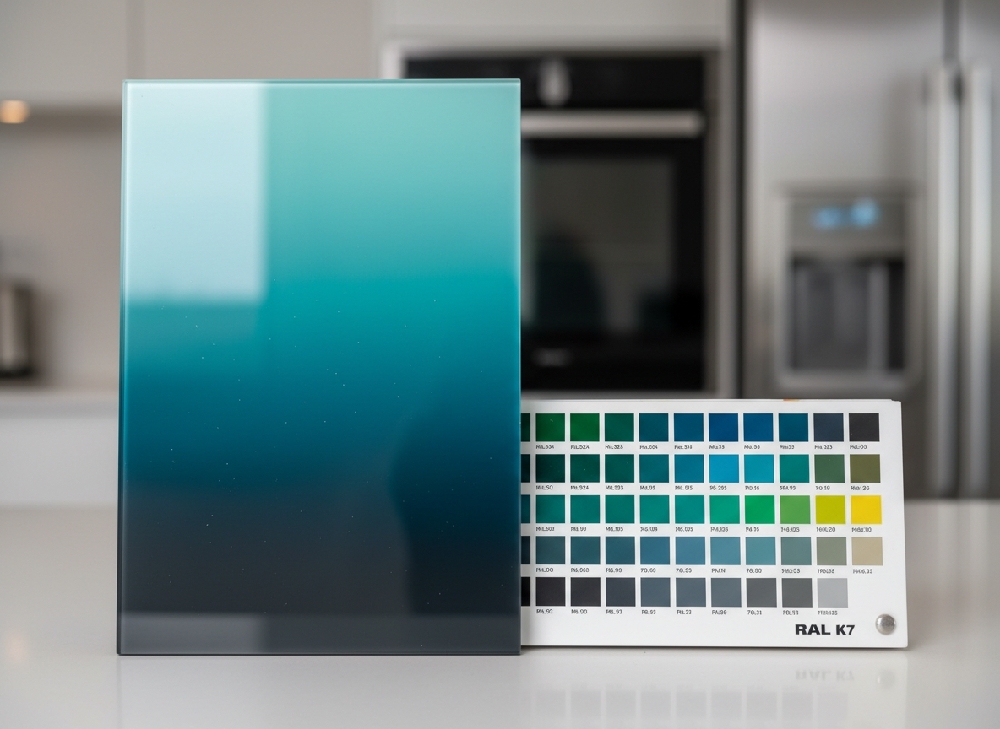
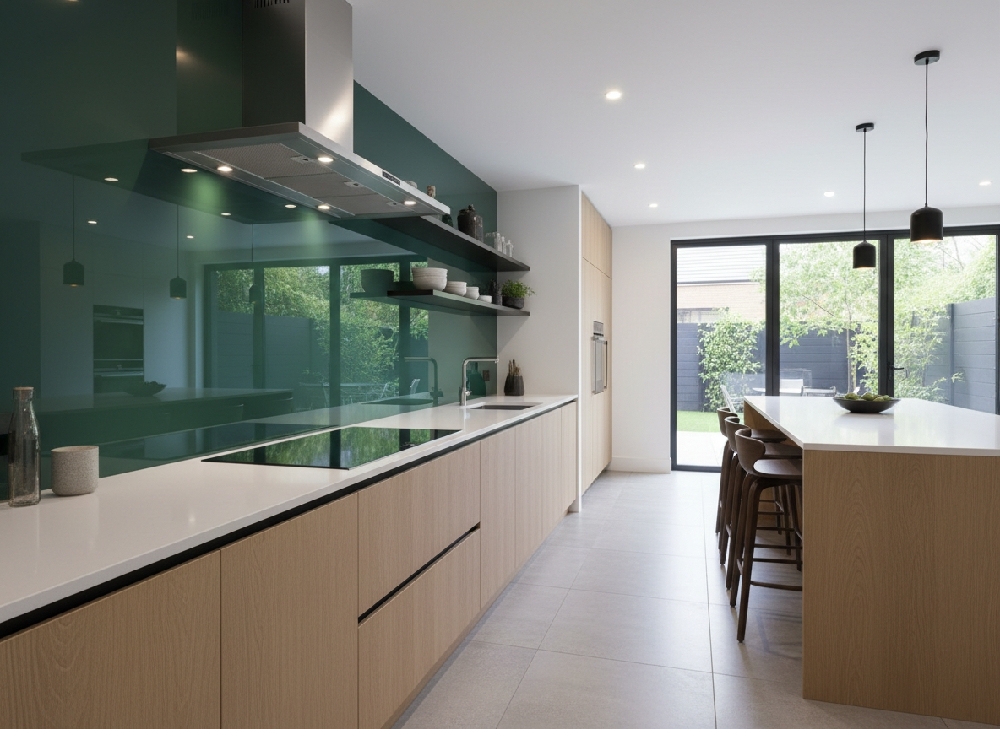
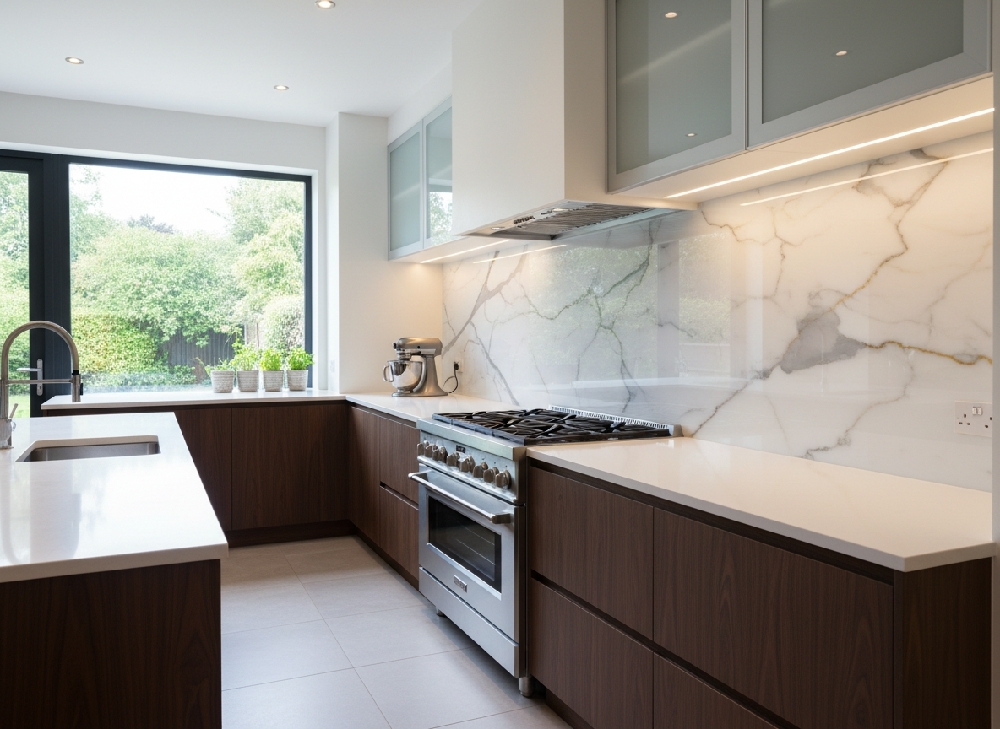
Glass and aluminum composite panels have the highest reuse potential—provided removal is handled carefully.
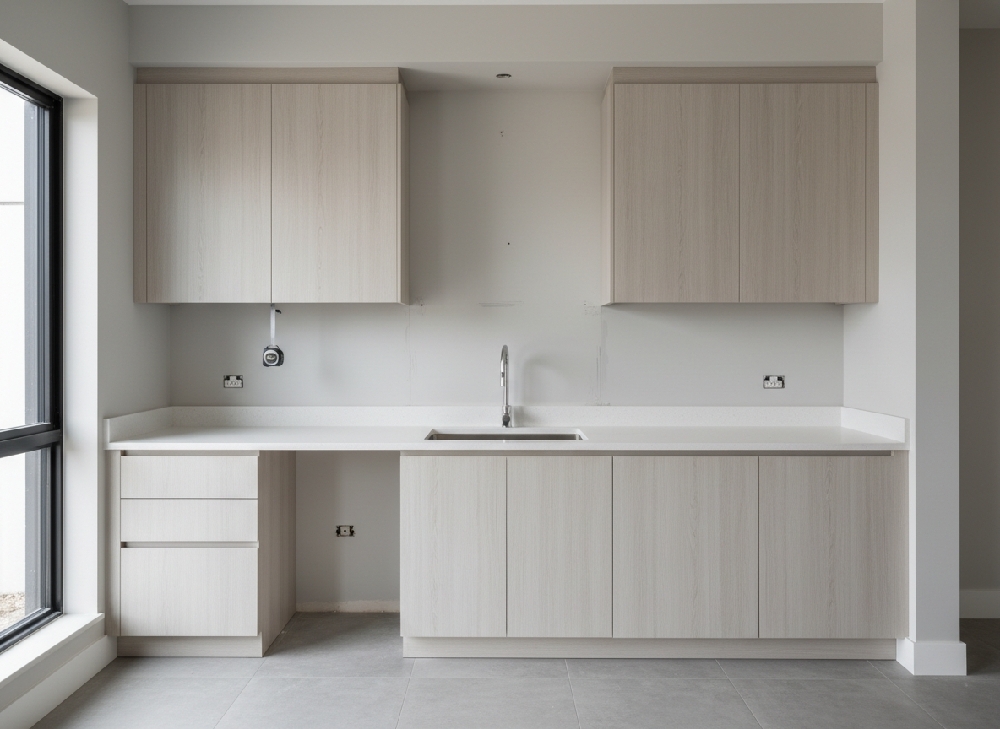
When Reuse Is Not Recommended
Reusing a splashback is typically impractical when:
The kitchen layout is being reconfigured
New appliance cut-outs are required
The panel was heavily siliconed and bonded
The material is outdated or discolored
The new design direction conflicts with the existing finish
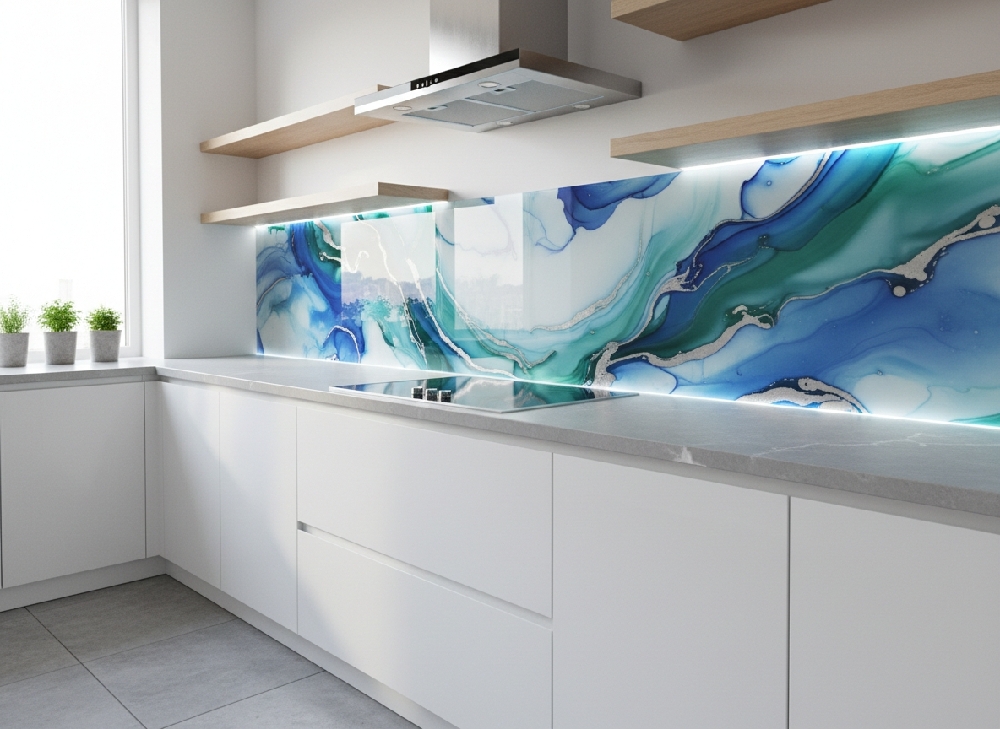
Toughened glass cannot be cut or resized after manufacturing. Once dimensions change, replacement becomes mandatory.
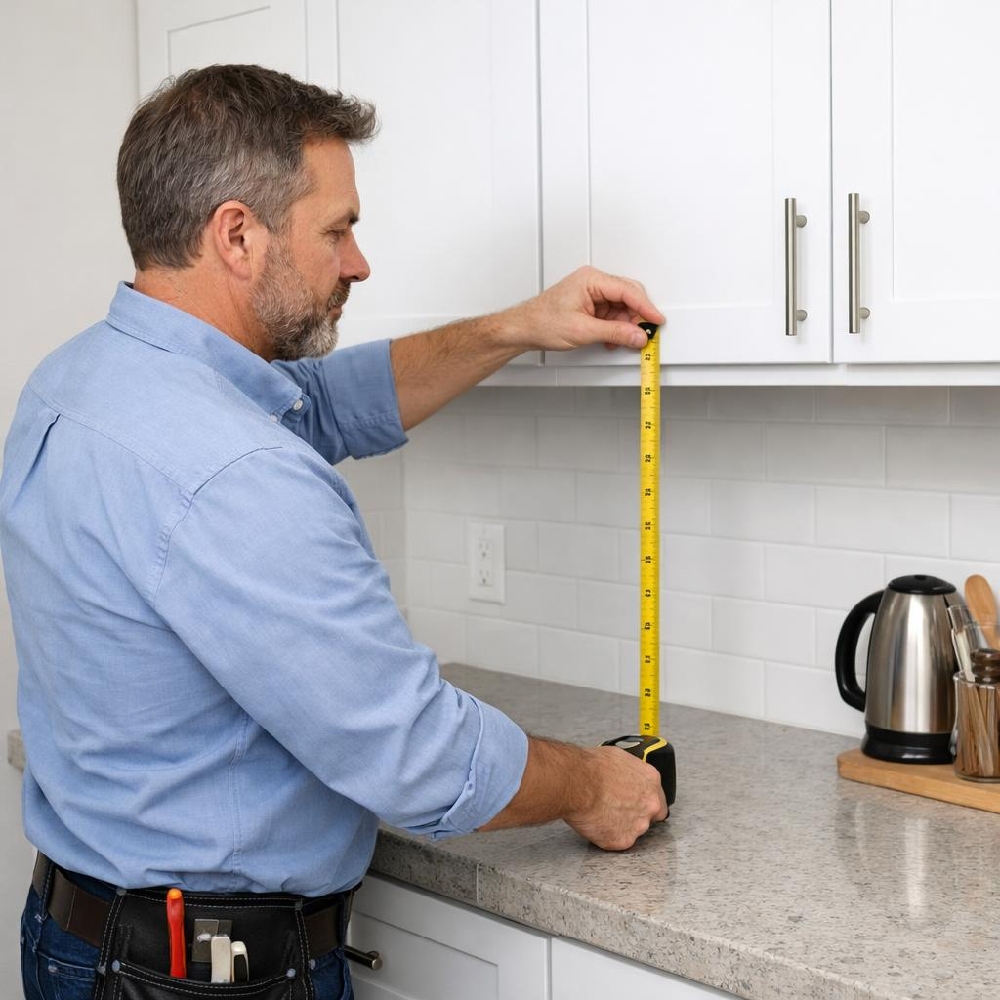
Cost vs. Risk Analysis
At first glance, reuse appears cost-efficient. However, consider the following:
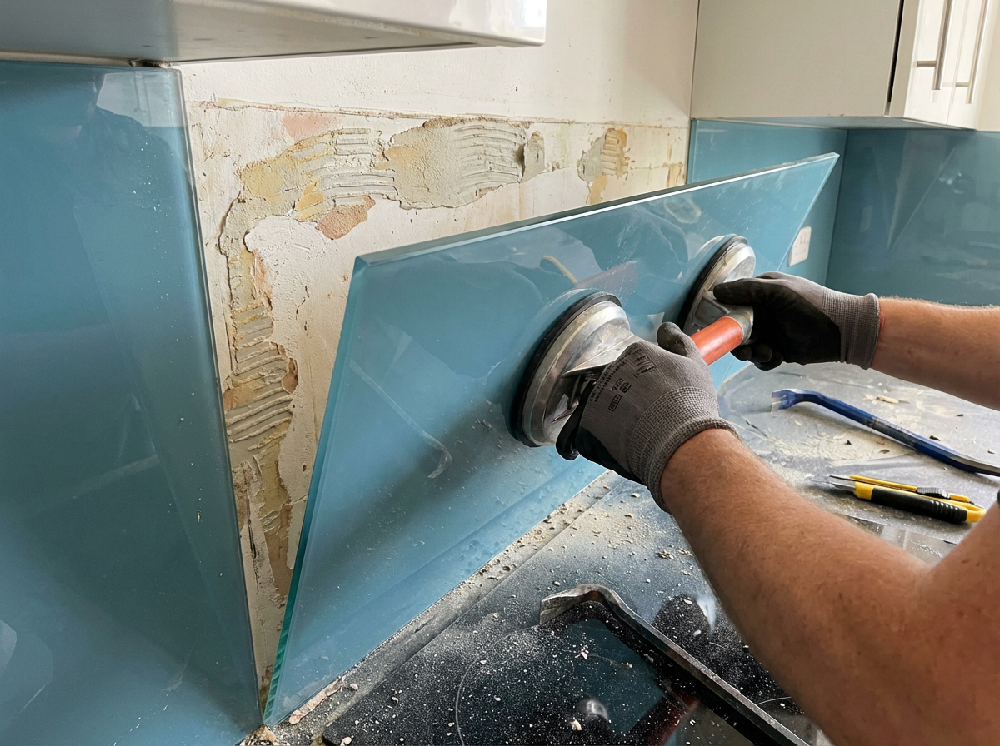
Risk of breakage during removal
Labor costs associated with careful extraction
Potential wall repair after detachment
Compatibility with new cabinetry height
If breakage occurs during removal, replacement becomes unavoidable—often with added delay.
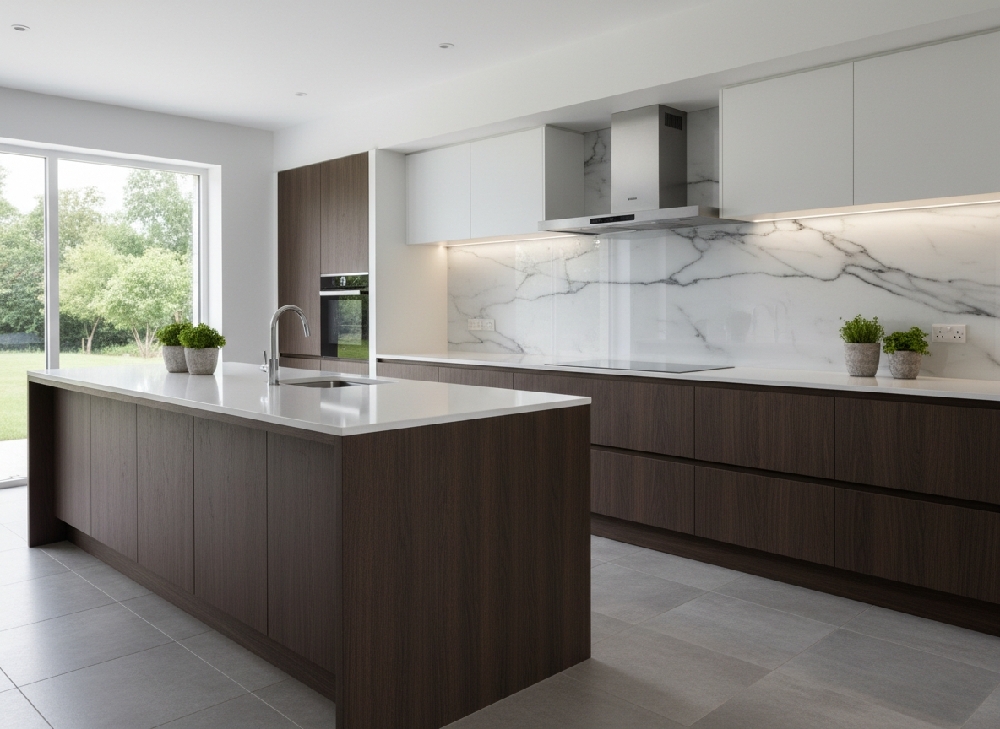
Strategically, reuse works best when renovations are cosmetic rather than structural.
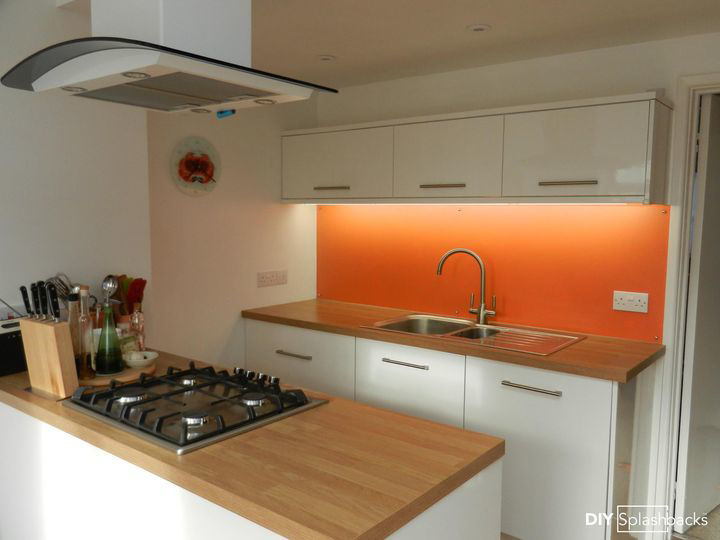
Alternative Strategy: Repurposing Instead of Reusing
If the splashback cannot be reused in the same location, consider repurposing it:
Utility room wall panel
Laundry backsplash
Garage workbench backing
Accent panel in a bar area
This approach protects material value while aligning with sustainability objectives.
Sustainability Considerations
Reusing materials reduces landfill waste and supports environmentally responsible renovation practices. For homeowners prioritizing eco-conscious upgrades, reuse—when feasible—aligns with long-term sustainability goals.
However, performance and safety standards must not be compromised to achieve reuse.
Final Assessment
Yes, splashbacks can be reused during renovations—but only when structural integrity, layout alignment, and removal feasibility are aligned.
In most full kitchen remodels, replacement delivers better long-term value due to updated dimensions, finishes, and compliance requirements. In partial upgrades, reuse can be a calculated efficiency move.
The decision should be guided by structural logic, not sentiment.


.jpg)
.jpg)